Amazon Smart Display comparison – Echo Spot vs. Echo Show 5

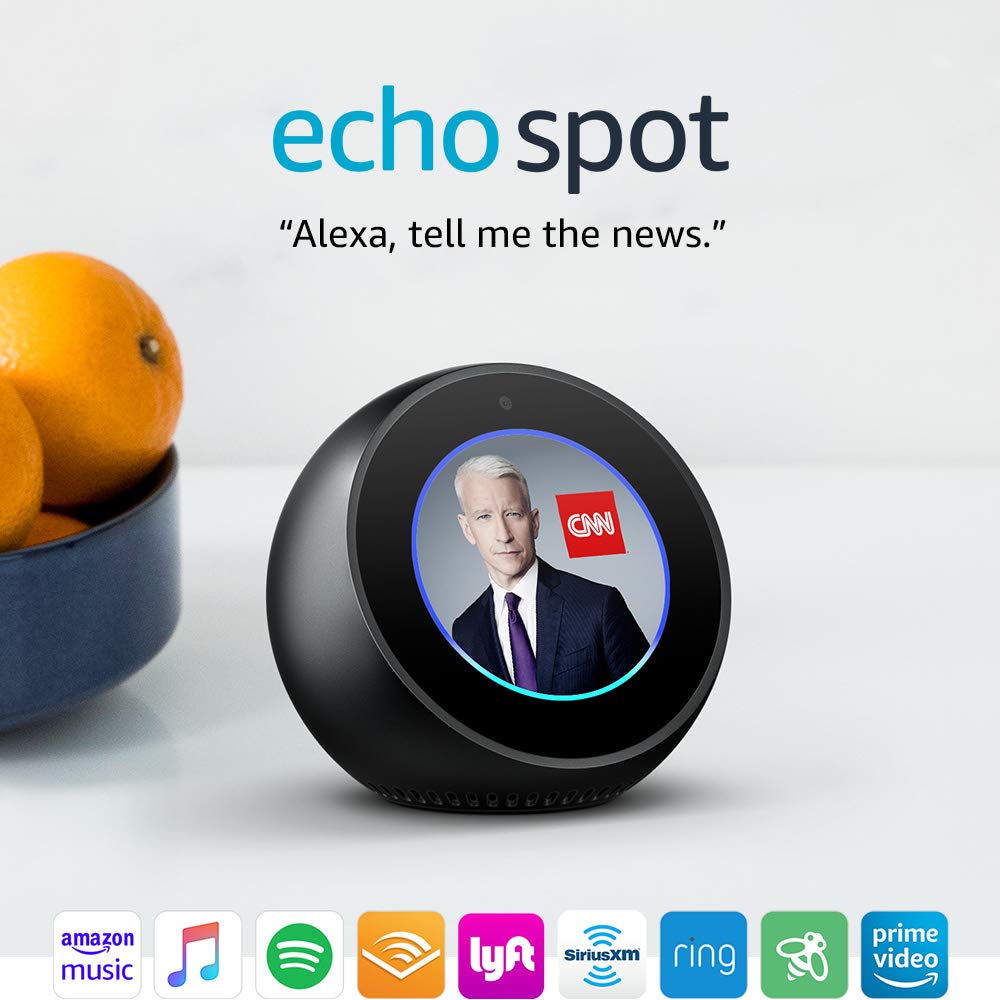
Echo Spot ($129.99) and Echo Show 5 ($89.99) are both Amazon Alexa-enabled smart display. They are often compared with each other because of their compact designs. They are small enough to fit on a nightstand, and they double as an alarm clock when you are not using the touchscreen. Two devices offer almost the same features. But Echo Show 5 has more features, and it’s better as a smart display because it has a larger screen. Besides, it’s less expensive. Here are more details about Amazon smart display comparison, Echo Spot vs. Echo Show 5.

Display

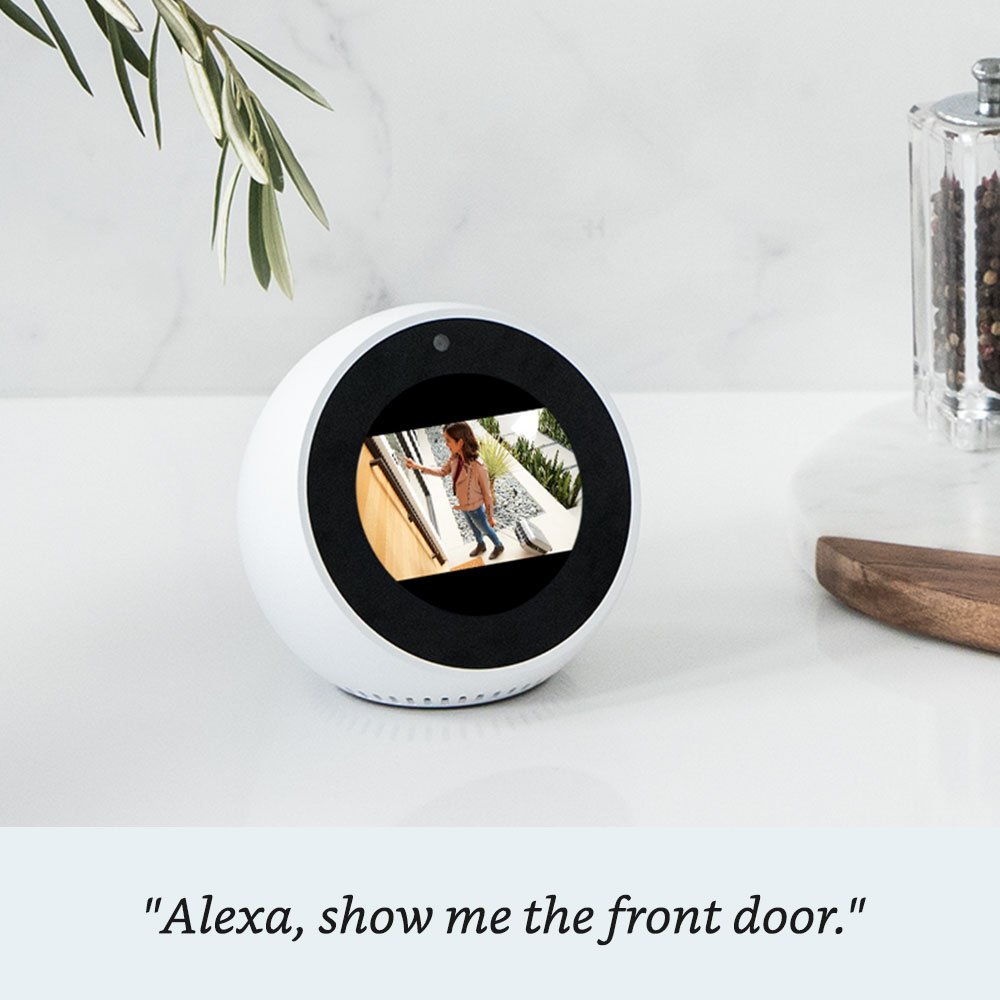
Echo Spot has a 2.5-inch circular touchscreen with 480 x 480 resolution, and Echo Show 5 has a 5.5-inch rectangular touchscreen with 960 x 480 resolution. The display of Echo Show 5 is the average size of smartphones. On the other hand, Echo Spot display is circular. Because of the shape, each side of images or videos has to be clipped or has to be shrunk to show the full corners.

image of small screen of echo spot

Camera

Echo Spot has a VGA (640 x 480), and Echo Show 5 has 1MP front-facing camera. As compared with recent smartphones, neither of them are great. But, because of the purpose, which is mainly used for video calls and drop-in, it doesn’t need superb quality. But, the Echo Show 5’s camera is nearly 3 times better than Echo Spot’s camera.

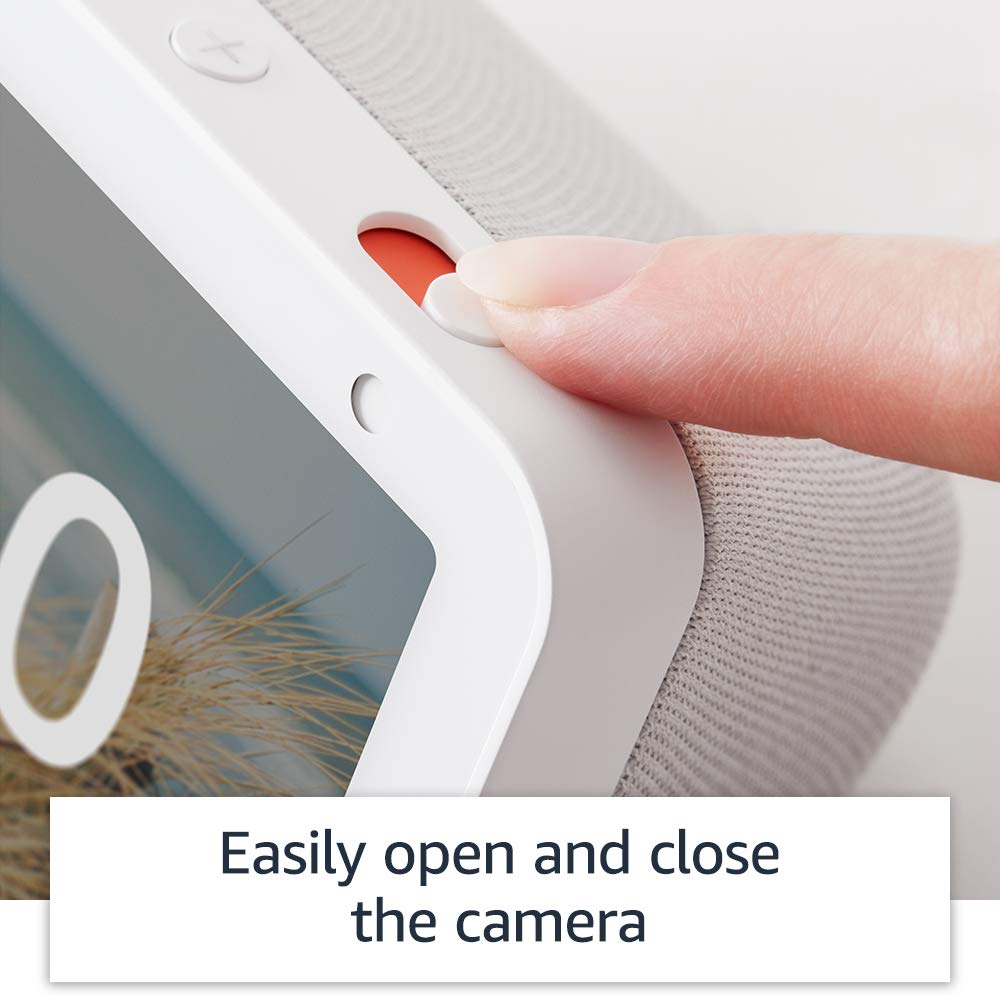
Both devices can disable a camera and microphone in the settings. However, Echo Spot users complain about a camera is alway facing to your bedroom, and it’s not comfortable despite the setting. Amazon responded to this complaint by adding a physical camera shutter on a new device (=Echo Show 5.) It’s plain and simple but it gives you a feel of more security and privacy.

image of amazon echo show 5 camera shutter

Speaker

Both devices have only one speaker. Echo Spot is 2W, and Echo Show 5 is 4W. The Echo Show 5’s speaker is twice as powerful as the Echo Spot’s speaker. Echo Show 5 has an advantage in the performance of music and video streaming.

Alarm Clock

A new device, Echo Show 5 has been added some features for an alarm clock which are not available with an old device, Echo Spot. When an alarm goes off, you can snooze by hitting on the top of the device. The shock sensor is built-in to detect you hit. Unlike traditional alarm clocks, there is no physical snooze button. I guess it will become the standard for “smart” alarm clock. The sunrise alarm is another feature. It makes a display lighten up gradually toward the alarm time. It will help you wake up smoothly.

Does Echo Spot have an advantage?

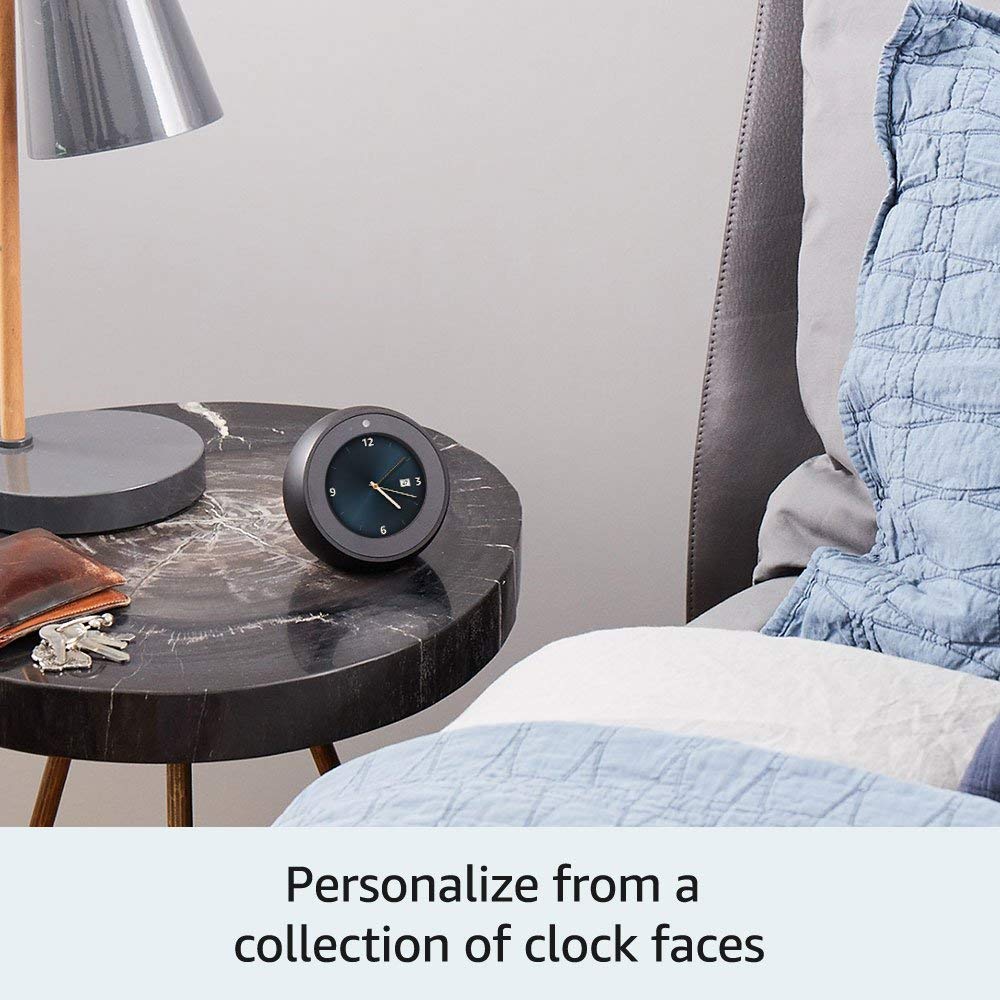
Before the conclusion, let’s think what’s better on Echo Spot than Echo Show 5. Echo Spot looks cute. Analog face clocks suit well in a circular display. If you don’t use much of music and video streaming, some people would prefer its overall design. However, the price doesn’t justify the disadvantages of Echo Spot. Echo Spot was released nearly two years earlier than Echo Show 5. But, its price hasn’t dropped yet. I can’t see why you should spend more to get the older and less powerful device.

image of amazon echo spot clock face

Conclusion

Obviously, Echo Show 5 is better than Echo Spot. It has a larger screen but it’s still compact to fit on a nightstand. It has a more powerful speaker and a better camera with a physical shutter to cover the lens for your privacy. Above all, it is $40 less expensive than Echo Spot. If you try to choose one between two devices, you should go with Echo Show 5. If you already own Echo Spot, it may be worth to upgrade to Echo Show 5 as well. Click to see the latest price of Echo Show 5 and Echo Spot.

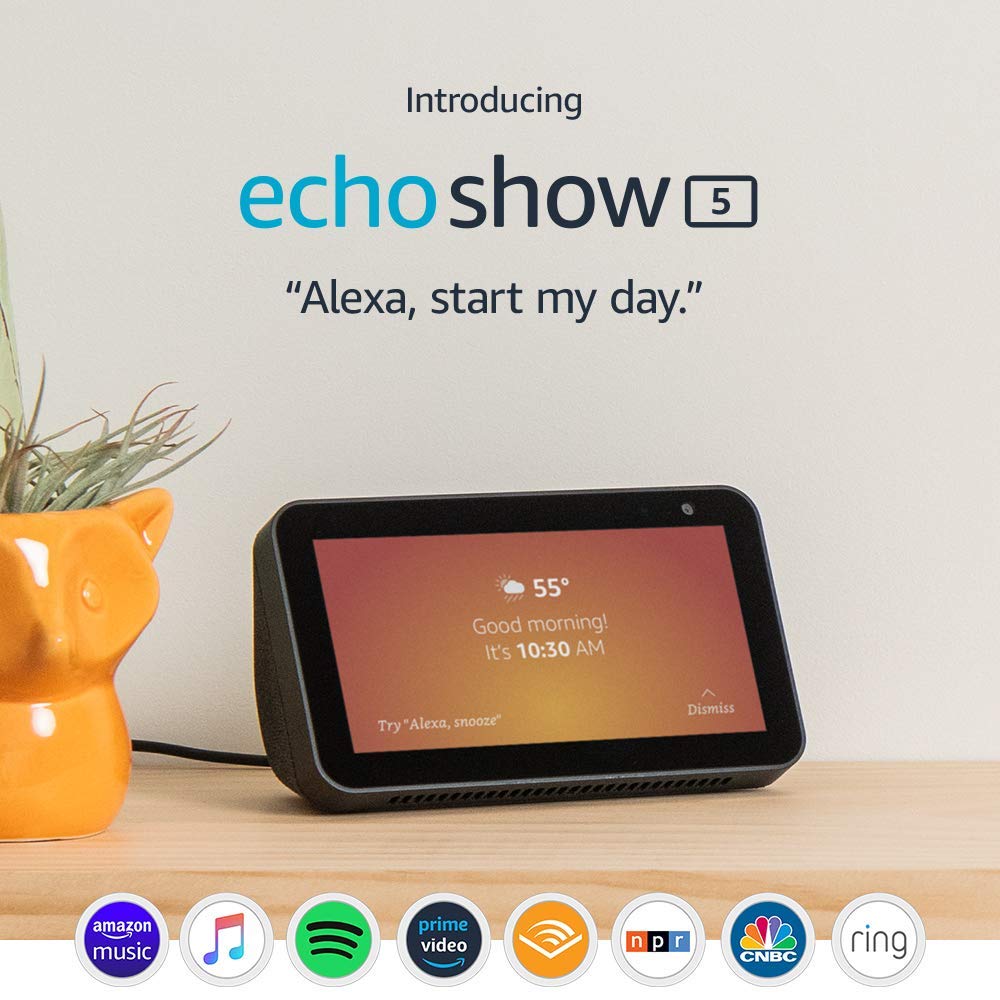
image of amazon echo show 5 smart display
ProductEcho Show (2nd)Echo SpotEcho Show 5
Dimension9.7” x 6.9” x 4.2”4.1" x 3.6" x 3.8"5.8" x 3.4" x 2.9"
Weight62.2 oz14.8 oz14,5 oz
Screen Size10.1" (Rectangular)2.5" (Circular)
5.5" (Rectangular)
Resolution1280 x 800480 x 480960 x 480
Speaker Size2" (Dual)1.4" (Single)1.65" (Single)
Speaker Power10W2W4W
Camera5 MPVGA (640 x 480)1 MP
Physical Camera ShutterNNY
3.5mm Audio OutputNYY
Built-in Zigbee Smart Home HubYNN
Price$229.99*$129.99*$89.99*

*Click to see the latest price at Amazon.com
Related Posts

Official YouTube app is back on Amazon Fire TV devices

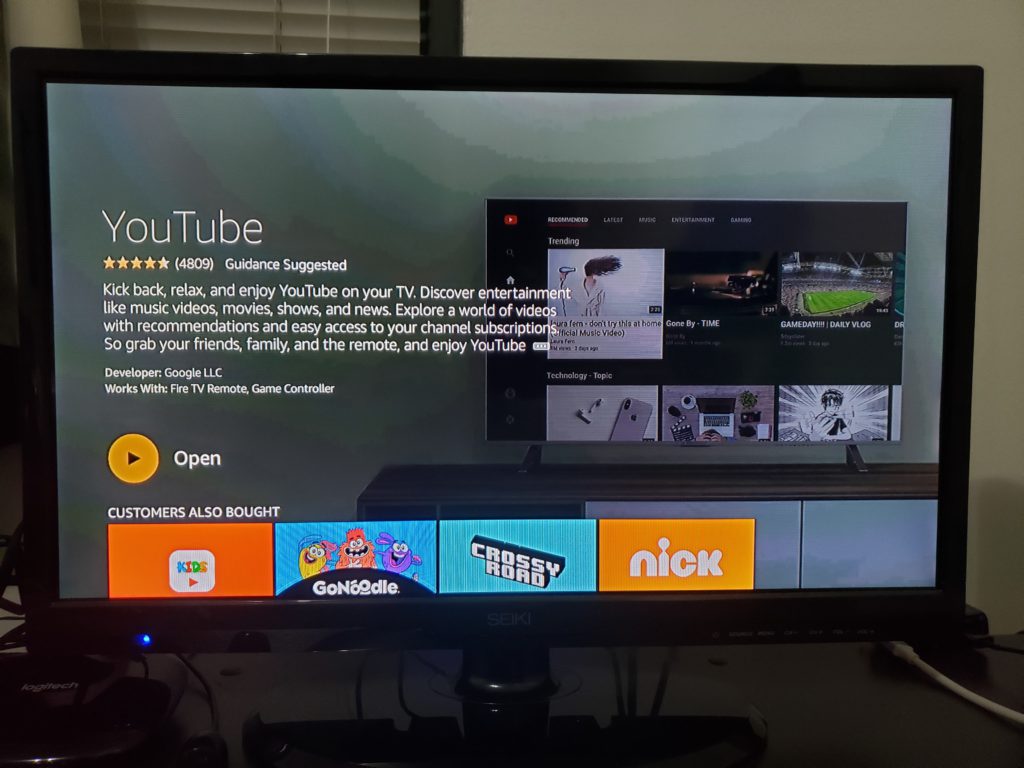
The official YouTube app has returned on Fire TV streaming media players and Fire TV Edition smart TVs. Due to the battle between Amazon and Google, YouTube was not directly available on Fire TV devices. During the time of absence of the official YouTube app, there is a workaround to watch YouTube videos through the Silk or Firefox browser. The workaround was satisfactory. However, it’s better to use the official app than a web browser because you can use voice commands.

image of youtube is back on fire tv

Just watching YouTube videos doesn’t make much difference whether it’s on the official app or on the browser. But, on the official app, you can use various voice commands and searches.

Once you download and install the YouTube app, you can open the app by pressing down the voice button on the remote and saying, “Open YouTube.” After launching YouTube, you can look for videos by voice search. For examples, you can say “Play cats video” or “Find recipes for shrimp salad” without saying a word “YouTube.” You can also control videos such as pause, resume, skip, rewind, fast-forward with your voice.

Conversely, Amazon Prime Video is now available on Chromecast-enabled TVs. But, at the time of writing, I can’t find the “Cast” button on the Prime Video mobile app. I guess they will update the app and be able to available later.

In the meantime, there is also a workaround for Chromecast-enabled TV to play Prime Videos. It doesn’t work with a smartphone. You need a Chrome desktop browser. Open Chome and click 3-dot on the top right-hand corner. find “Cast” from the dropdown and click. A small popup window appears and shows available Chromecast devices. Choose one and click. Now, whatever you see on the desktop browser is shown on TV, too. Start the Prime Video on the browser, and you will see it playing on TV. Unlike Cast-compatible apps like YouTube, Hulu, or Netflix, this workaround method is a mirroring. You have to keep the browser open and let it play. If you close, it will shut down on TV, too.
The battle between Amazon and Google

The battles started several years ago. In 2015, Amazon removed Apple TV and Google Chromecast from its online store due to incompatibility with Prime Video streaming service on these devices. In 2017, Amazon Echo Show was released, but soon after that, Google pulled YouTube from Echo Show because “implementation of YouTube on the Echo Show violates our terms of service, creating a broken user experience.” Then, Google-owned Nest Products disappeared from Amazon online store. Later, YouTube had returned on Echo Show for a short while, but Google pulled it again, not only from Echo Show but also from Fire TV devices. Since then, there had been no YouTube app on Echo Show or Fire TV devices. To watch YouTube videos, you had to open a web browser and go to YouTube.com.
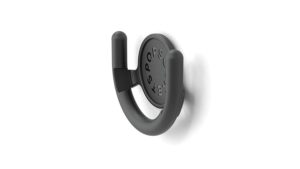
image of youtube is back on fire tv

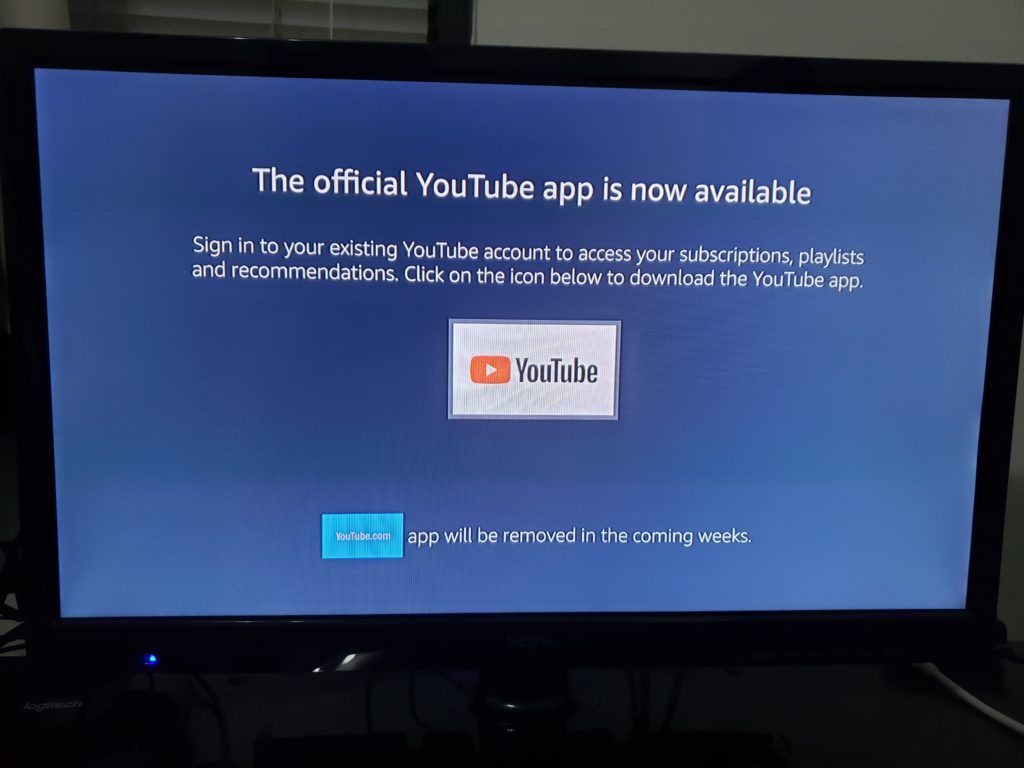
The image above was taken when I tried to open the workaround app, which is actually a bookmark on the Silk browser. Fire TV says it will be removed in the coming weeks. I hope the official YouTube app will stay forever. And I hope YouTube to return on Echo Show as well.

Related Posts

Lenovo Smart Clock review -the alarm clock with Google Assistant

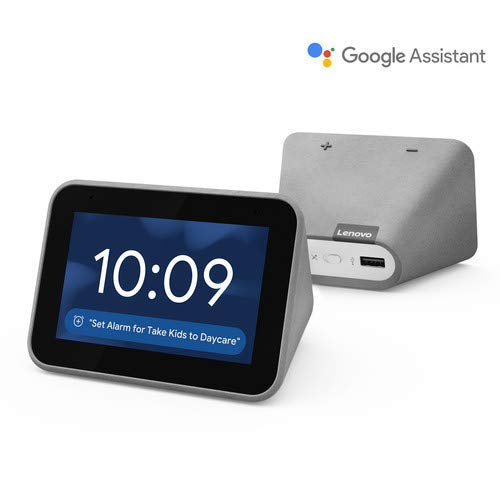
Lenovo Smart Clock ($79.99) is an alarm clock with a 4-inch touchscreen and Google Assitant. Although it has a display, it’s not a smart display such as Lenovo Smart Display, Google Nest Hub, or Amazon Echo Show. It can’t play videos or show maps. It has many features for an alarm clock, but not many features as a smart display.

image of lenovo smart clock

Design

Lenovo Smart Clock has a 4-inch touchscreen. There is no camera. The back case is covered by a light grey fabric. It looks like a small version of the Amazon Echo Show.

There are volume +/- buttons on the top, a charging port, a microphone on/off switch, and USB-A port on the back. You can charge your mobile device through the USB-A port. However, the output of the port is only 2.5W (5V/0.5A). So, don’t expect to charge your smartphone rapidly.

Overall, it’s a simple yet modern design. It’s small to fit anywhere like nightstand and side table.

Features

As an alarm clock, Lenovo Smart Clock has many features. You can choose a clock face from various designs, and each design can be customized with different colors. When an alarm goes off, hitting on the top is the same function as a snooze button. The buttons to snooze and dismiss will appear on the display so you can tap the snooze button instead of hitting on the top. Sunrise alarm feature makes the display lighten up gradually toward the alarm time. It will help you ease to wake up in the morning.

Google Assistant is built-in Lenovo Smart Clock. You can use it as a Google Home smart speaker. You can ask questions, play music, control smart home devices, set timers and alarms, and more.

You can play music from YouTube Music, Google Play Music, Spotify, and Pandora. The speaker is not very good quality, but it would be adequate to play news, podcasts, or relaxing sounds and sleeping music. When you play music, the display has playback buttons. It can also show album arts but no lyrics.

You can check coming up today’s event that you have entered on Google Calendar on other devices. You can ask the weather or just tap the weather icon with a temperature on the home screen to let it show the detail on the display. The weather is the only thing you can see the details on it. When you ask direction, Google Assistant answers with an estimated time of arrival but no maps or step by step directions. No lyrics with music. When you ask questions, Google Assistant AI answers but it doesn’t show the words AI or you are saying.

There is no camera to make video calls. You can’t even see your picture on it. The only video you can watch is a live feed from Nest cameras added to the Google Home app of the same account.

Sound

Lenovo Smart Clock has a single 3W 33mm speaker. For comparison, Google Home Mini has 40mm, Amazon Echo Show 5 has 4W 42mm. There is no audio jack to use your external speaker. And, you can’t use the smart clock as a Bluetooth speaker, either. You can cast to Chromecast-enabled devices from the smart clock, but I don’t think it’s useful at all. If you want to use Chromecast-enabled devices, you can just start casting to them from the Google Home app on your smartphone. If you play music a lot, it’s not the right device.

Pros

  • Customizable clock faces
  • Tapping on the top to snooze
  • Sunrise alarm
  • Google Assistant built-in
  • Good speaker for an alarm clock

Cons

  • No video features except for Nest camera’s live feed
  • No camera
  • Bad speaker for playing music
  • Expensive for an alarm clock

Conclusion

Simply put, Lenovo Smart Clock is an alarm clock with Google Assistant smart speaker. It has a nice and sophisticated look for an alarm clock. It does have nice features for an alarm clock. However, the 4-inch touchscreen display is a waste because of a lack of video features. If the price is less, I want this and put it on a nightstand. The price of $79.99 is too expensive for overall features. Click here to see the latest price.

Related Posts

Amazon Echo Show 5 review – Alexa-enabled smart display

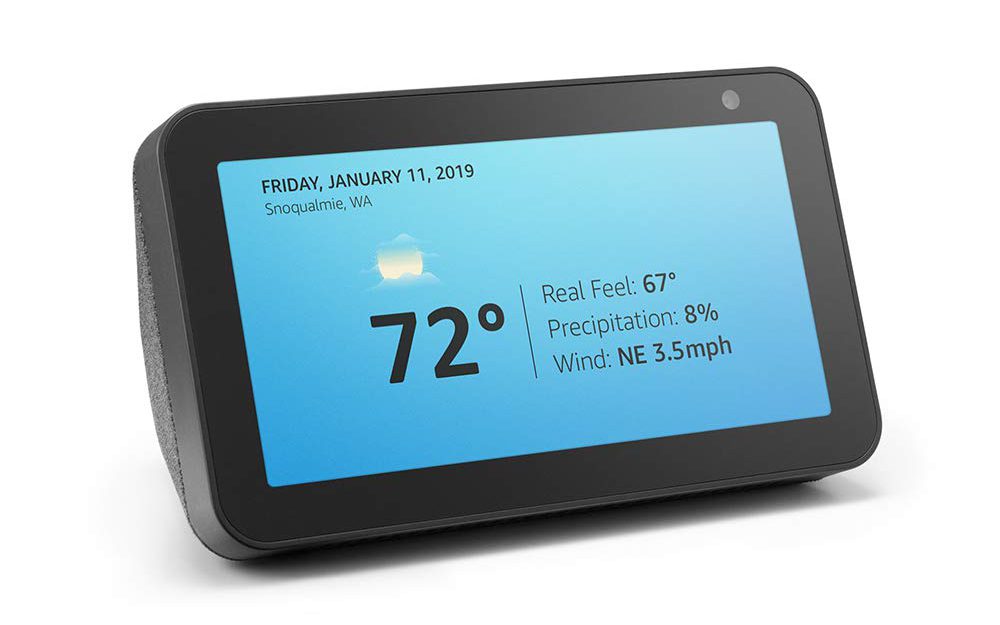
Amazon Echo Show 5 is an Alexa-enabled smart display. “5” of the name is after the size of a display. It has a 5.5-inch touchscreen. A physical shutter to cover the lens of the camera is simple yet effective. It fits in many places like a shelf, desk, side table, nightstand, and more. It’s like a digital alarm clock with fancy features. The price of $89.99 is very attractive.

image of amazon echo show 5

Price

First things first, the most attractive thing about a new addition of Amazon Echo device is the price. It is $89.99 which is less than half the price of the second generation of Echo Show ($229) or even less than Echo Spot ($129).

Design

The design of Echo Show 5 is the same as the 2nd Echo Show. It’s just smaller. It has a 5.5-inch touchscreen on the front that is around an average size of smartphones’ display. The back case is covered by the fabric. It’s available for two different colors: Charcoal and Sandstone.

image of amazon echo show 5 camera shutter

On the top, there are volume up, volume down, and microphone on/off buttons. A front face camera is on the top right corner. The camera can be closed by a physical shutter on the top. It’s simple but it’s effective to your mind by giving you more security of your privacy.

On the back, there is a charging port, 3.5mm audio output, and micro USB. The purpose of the micro USB port is unknown. Some say it’s for a wired network connection, but not confirmed.

Features

The features of Echo Show 5 is almost the same as the 2nd Echo Show. You can watch videos, play music with lyrics, video call, control smart home devices, view security camera, drop-in, etc. In addition to these features, it has the features as an alarm clock. You can choose from several fun clock face designs. When an alarm goes off, hitting on the top will be the same function as a snooze button. Ambient sunrise lighting feature makes it gradually light up prior to the set time that will help you wake up smoothly. however, somehow you can use this feature between 4 am to 9 am. it’s very strange.

image of amazon echo show 5 video feature

As compared with the 2nd Echo Show, what is missing is the built-in smart home hub which connects ZigBee lights and switches without a manufacturer’s hub. Of course, if you have a manufacturer’s hub or WiFi lighting or switch which originally don’t require a hub, you can control them with your voice via Echo Show 5.

Sound

Echo Show 5 has a single 1.65-inch 4W speaker, while the 2nd Echo Show has two 2-inch 10W speakers. The speaker is good enough for playing podcasts, radios, or chatting. But, it’s not room-filling. When you play the music, you may want to connect your external speakers via 3.5mm audio output.

Other smart displays to consider

Lenovo Smart Clock ($79.99) is 4-inch touchscreen smart display. It uses the Google Assistant. But it lacks a camera and internet browser. Google Nest Hub ($129.99) is another smart display with Gooogle Assistant. It has a 7.7-inch touchscreen. It has much better speakers with a lot of features. But it also lacks a camera, and it’s more expensive.

If you already invest in Amazon Alexa’s ecosystem, you probably want to choose one in Amazon’s Alexa devices. What about Echo Spot? Echo Spot has the same concept as Echo Show 5. It’s small and more like an alarm clock with smart home features. As long as you use Echo Spot as an alarm clock or video calls, it’s OK. But, for other things like watching videos, or viewing cooking recipes, Echo Spot’s display is too small. Besides, it’s more expensive than Echo Show 5.

Conclusion

If you are an Amazon Prime member or already familiar with Alexa, you may want to choose the 2nd Echo Show or Echo Show 5. Echo Show 5 is more like an alarm clock. It has alarm clock features like snoozing and sunrise lighting. Of course, you can do many other things like the 2nd Echo can do. It’s small to fit anywhere. If you don’t need a large display or room-filling speakers, Echo Show 5 would be a nice addition to anywhere in your home. Click here to see the latest price at Amazon.com.

Related Posts

Samsung Gear VR won’t support new Galaxy Note 10

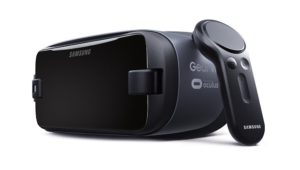
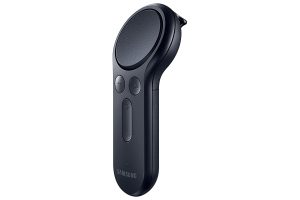
image of gear vr with controller 2017 version

Samsung announced that the new Galaxy Note 10 is not compatible with Gear VR headset. This news isn’t that surprising, though. Samsung continues to increase its devices screen sizes, Samsung had to release updated models or the adapters along with them. And, the popularity of untethered VR headset has shifted from smartphone-based to a standalone headset like Oculus Go and Oculus Quest.

Models of Gear VR

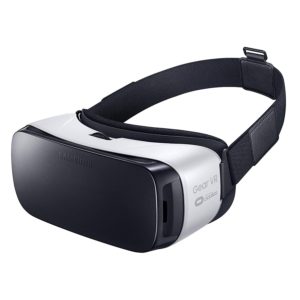
image of gear vr 2015 version

The first consumer edition (SM-R322) of Gear VR was released in 2015. It’s compatible with S6, S6 edge, S6 edge+, Note 5, S7, and S7 edge. Since it has no adapter to switch between USB micro-B and USB-C, newer phones are not compatible with this model.

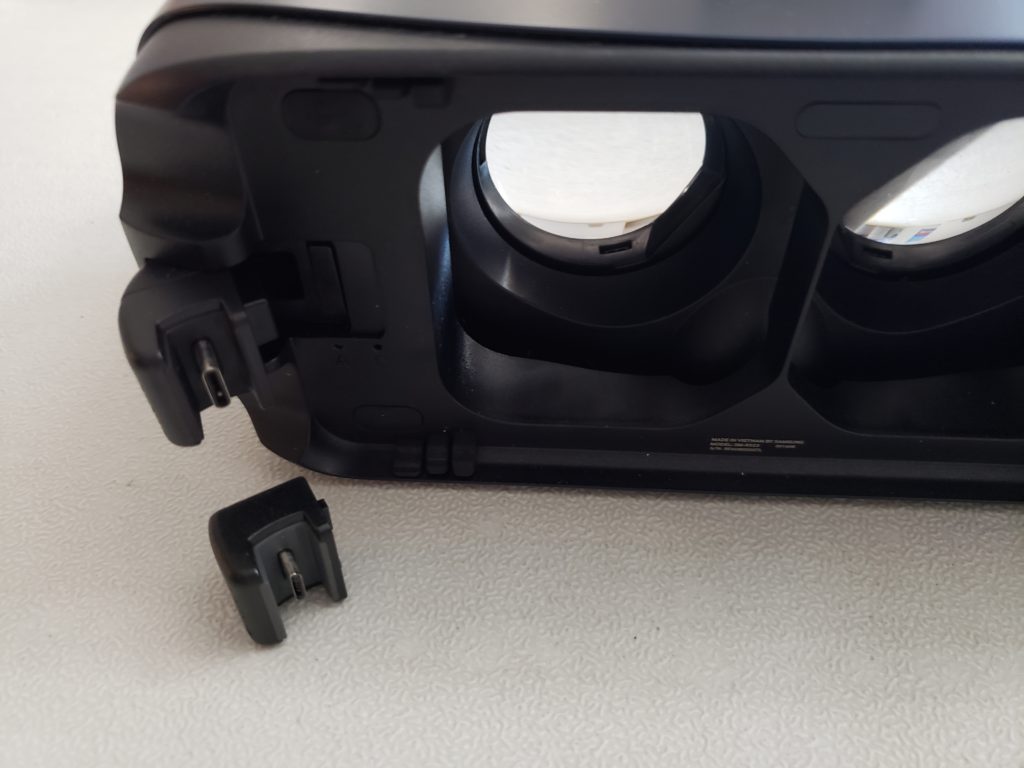
The next model (SM-R323) was released in 2016 at the same time as Samsung Galaxy Note 7. It has a lot of change and improvements from the previous model. And, this model and newer models have an adapter to switch between USB micro-B and USB-C so you can use not only Note 7 with USB-C but also older smartphones with USB micro-B such as S6 and S7. (Later in the same year, Note 7 was recalled and made incompatible for safety reasons.)

image of samsung gear vr adapter micro usb c
gear vr controller

An updated model (SM-R324) was released in April of 2017. It has small changes from the previous model. It has compatibility with a larger Galaxy S8. Samsung had released a dedicated Bluetooth controller between this and the previous model. The controller is paired with smartphones, not Gear VR. It doesn’t matter which model you have. This model and the next one come with the controller.

An updated model, probably the last one, SM-R325 was released in September of 2017. It has compatibility with a larger Galaxy Note 8. This model is also compatible with S10, S10+, S10e and older. Note 9 is compatible with Gear VR model number SM-R325NZVC*** only.

Problems of smartphone-based VR headset

As you can see, Galaxy phones are getting larger. Samsung has been released updated models as their new devices released. That’s probably one of the reasons why Samsung decided to shut off support for Gear VR on the coming new phone. The main reason, however, is an emergence of standalone VR headsets like Oculus Go and Oculus Quest.

Standalone VR headsets are self-contained. Every component for VR is packed inside, and each component is dedicated to its task for performing VR. Smartphone-based VR, however, uses a phone’s processor. The processor isn’t made for VR purpose only, but also for many others like maps, messaging, talk, and so on. As a result, overheating is an inevitable problem of smartphone-based VR headsets.

There is another problem. Playing VR with smartphones consumes a lot of battery power. Although the headset has great portability, you don’t want to use a lot of battery of your phone when you away from home.

Past and present of smartphone-based VR headset

Gear VR is good for experiencing VR, but it’s not a play for long hours or intense use for games. Several years ago, it was OK because a VR technology was in an infant stage as well as VR apps and games. But now, technology has been developed a lot. There are many apps and games that require long hours or large processing power. Newer phones may handle processing, but people don’t want to use their phone in the VR headset for hours.

Future of VR headset by Samsung

Samsung is seemingly focusing on other alternatives. HMD Odyssey is a PC-tethered VR headset by Samsung. Samsung may be going to develop Odyssey series of VR headset or add completely new ones. They are also working on AR (Augmented Reality) hardware and software, too.

Related Posts

The best free apps and games for Oculus Quest

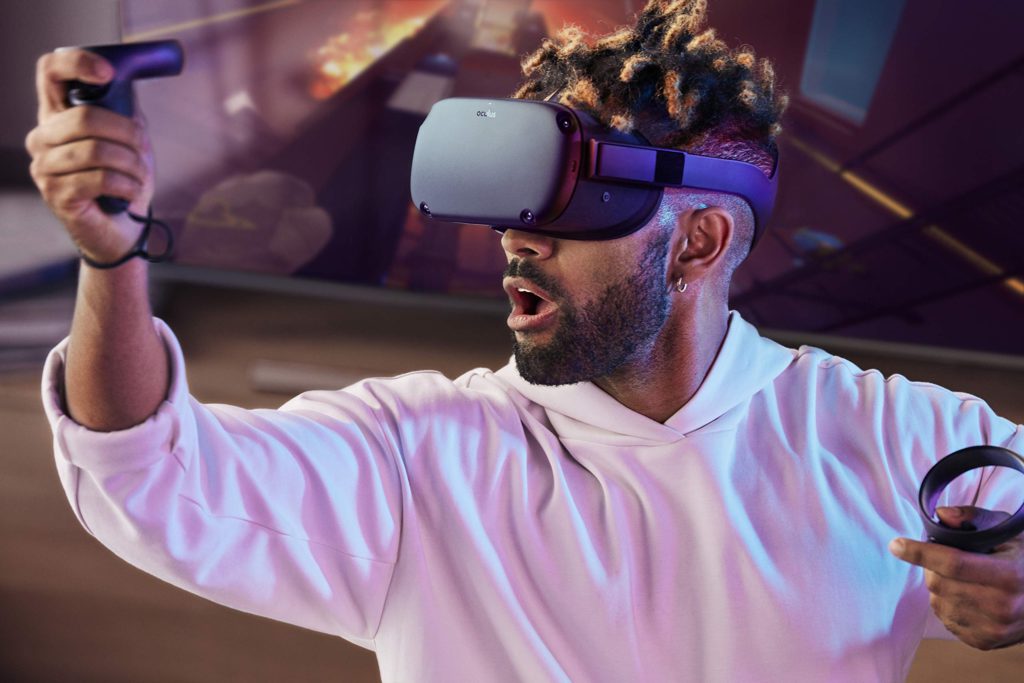
Oculus Quest features VR experience with six degrees of freedom without a need for a powerful gaming PC or game console. The cost $399 headset comes with controllers. That’s all you need to start playing VR. The more you enjoy, the more you purchase games. The cost of games may be going to add up quickly. Slow down a little bit, you may find free apps and games that you may be interested in. Here are the best free apps and games for Oculus Quest.

Rec Room

image of rec room oculus quest

Rec Room is a social VR platform. You can play games and hang out with friends from all over the world. You have a private dorm room to customize your avatar freely. There are many rooms for games, and you can also create your own rooms. The graphic is very basic and cartoonish. But many games are great games in general.

Bait!

image of bait oculus quest

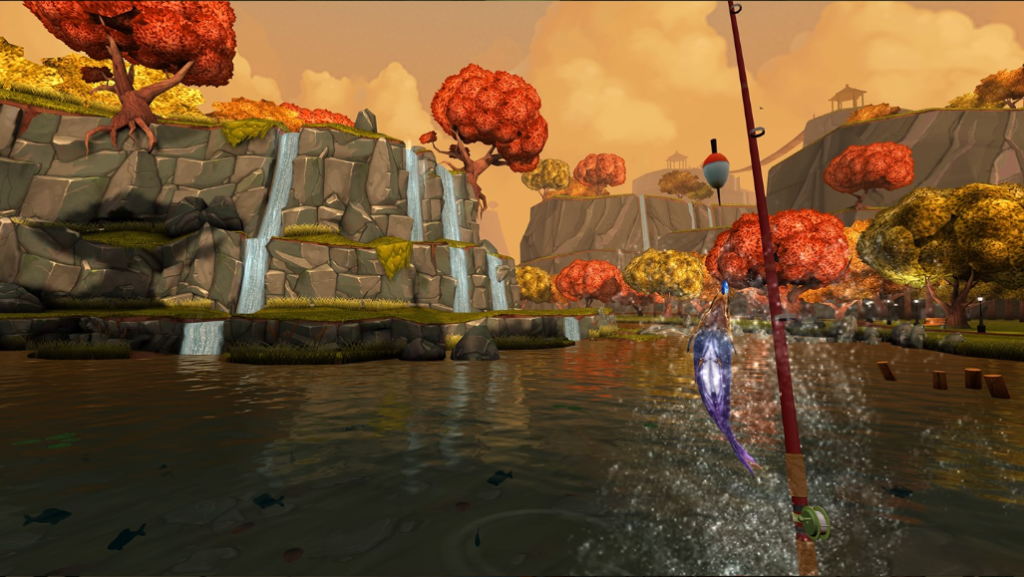
Bait! is a fishing game. It’s been around for quite a while. It first started with the Gear VR version. I played it with Oculus Go, but playing with Oculus Quest is much better experience thanks to Touch Controllers. The actions like casting and reeling are more real. There are four different lakes in the game. There is an in-app purchase to add more place if you want. You can enjoy fishing in a peaceful and beautiful environment.

First Contact

image of first contact oculus quest

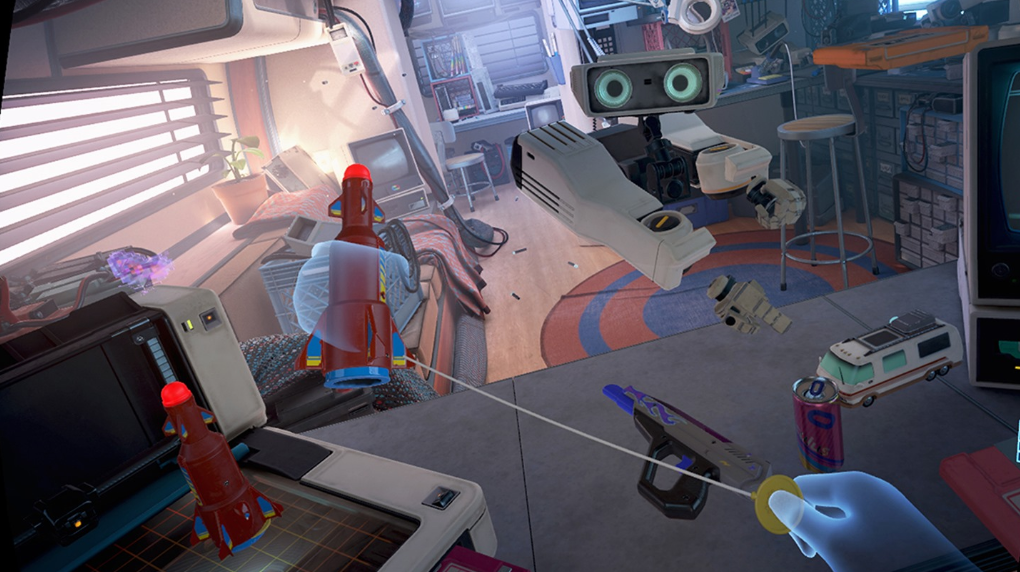
First Contact is a tutorial app for experiencing VR with 6DoF of Oculus Quest and familiarizing with Touch Controllers, just like First Steps. A virtual 3D printer creates various objects with which you can grab, bounce, shoot, throw, and more. It’s short, but it’s better to play for once.

Bigscreen Beta

image of bigscreen beta oculus quest

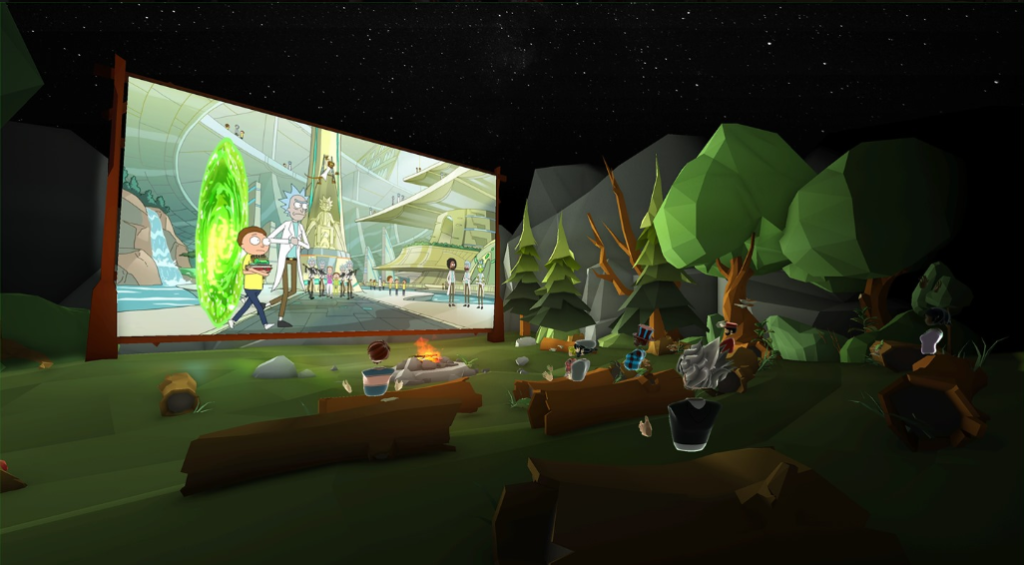
Bigscreen Beta is a social VR platform. While Rec Room is mostly for gaming with friends, Bigscreen is mostly for watching videos, chatting, or just hanging out with friends. There are many environments available to change such as a big apartment, big theater, campfire, balcony, bedroom, and more. There are many videos you can watch for free. Just talking with your friends in a nice environment is quite an experience.

Bogo

image of bogo oculus quest

Bogo is a short experience game with a virtual pet named Bogo. You can feed it, throw a stick to fetch, pet, or rub the body. There are some mini-games to play with Bogo. Touch Controllers work intuitively in this game, too. The game is very short. Don’t mistake Bogo with a type of growing character game. It ends quickly, but it’s free and definitely worth playing.

YouTube VR

image of youtube vr oculus quest

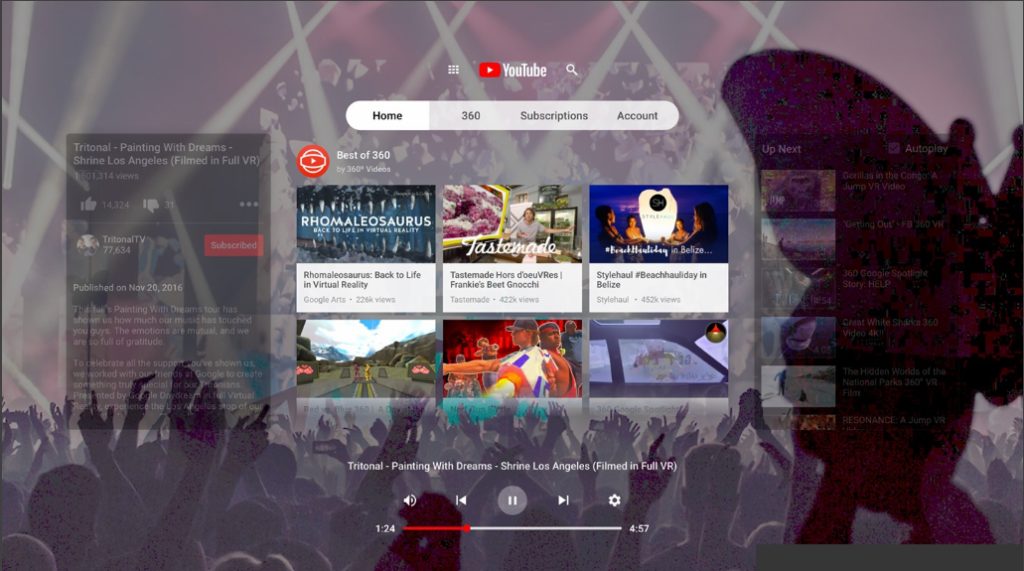
Probably, there is no explanation necessary. YouTube is one of the largest video-sharing websites. YouTube VR is a platform for 360-degree videos in addition to regular videos. It also started promoting 180-degree videos for easier productions. YouTube VR covers any genres like travel, sports, animal, music, dance, space, ocean, and more. You can spend hours after hours experiencing immersive videos on YouTube VR.

Related Posts

How to cast Oculus Quest gameplay

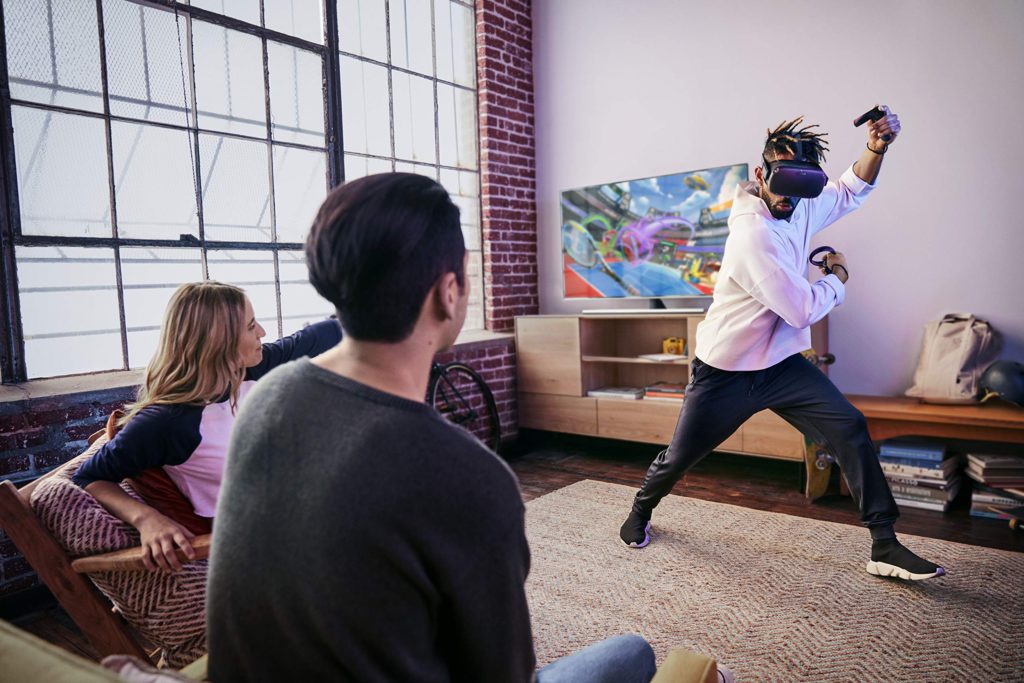
PC-tethered like HTC Vive and Oculus Rift or PlayStation VR can easily share VR experience with people in the same room by showing a monitor or TV which is already connected to PC or game console. However, Oculus Quest is self-contained. It’s not connected to anything. How can you share your experience on Oculus Quest with your friends and family? The answer is to cast Oculus Quest gameplay to your phone or to a TV with Google Chromecast.

image of share your experience on oculus quest

Please note that your phone, Oculus Quest, and Chomecast (if cast to a TV) have to be connected to the same WiFi network. And, there are some apps or games that are not allowed for casting. If you try, it will show a message and stops casting itself.

How to cast to your TV

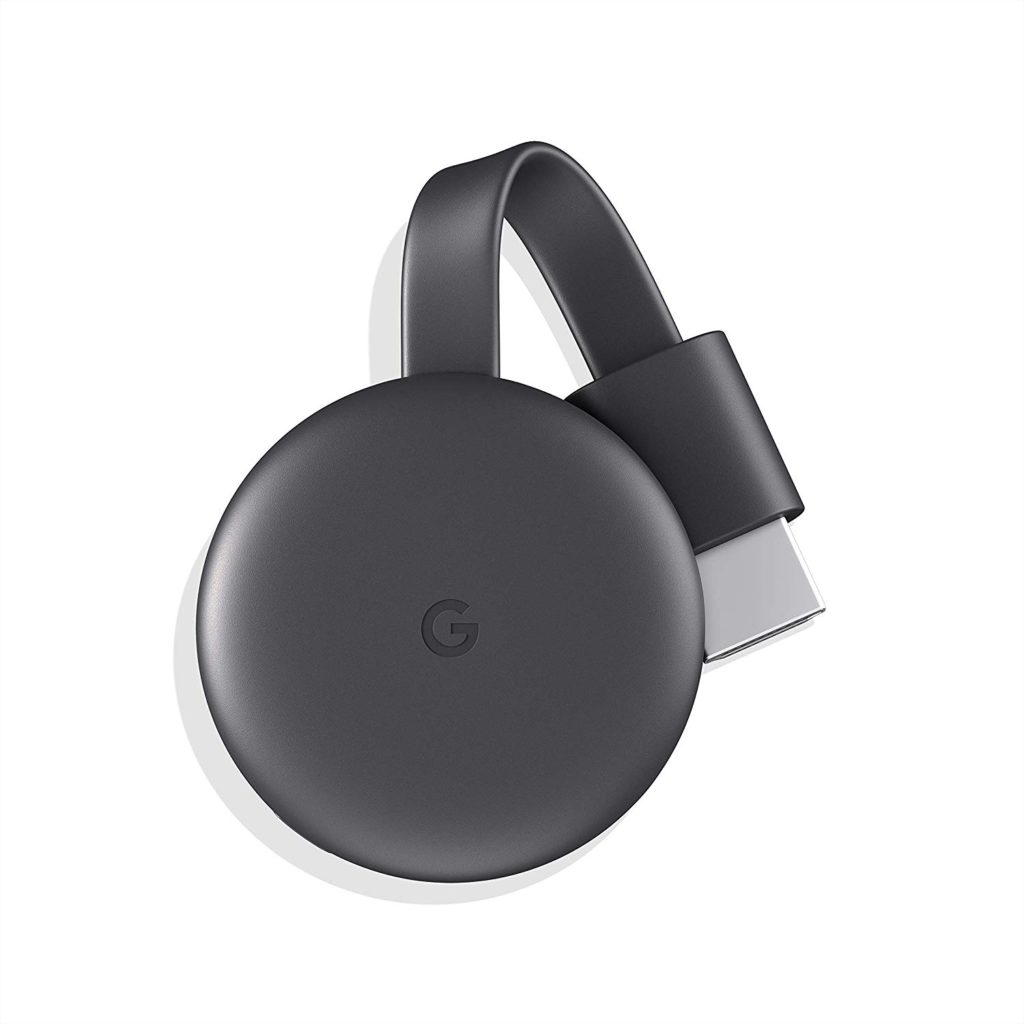
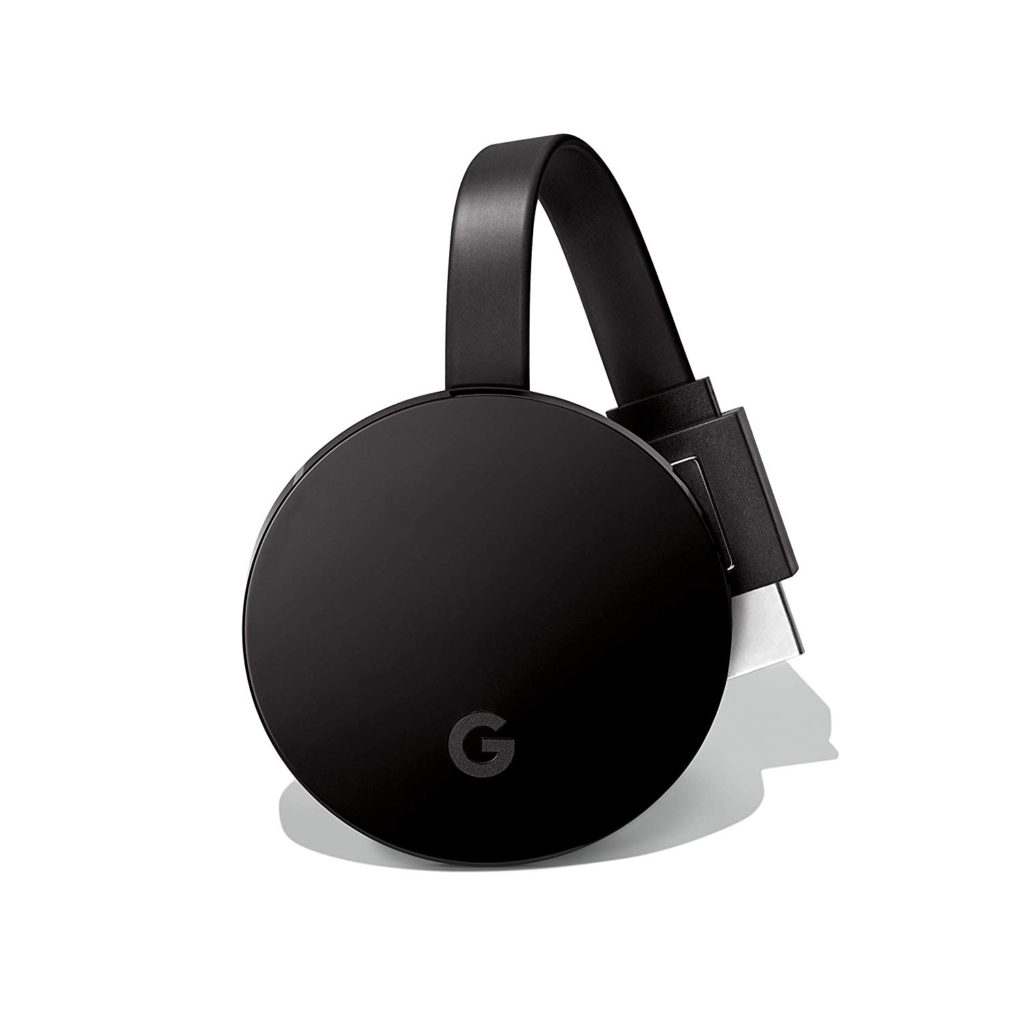
You need a Google Chromecast to cast to your TV. The compatible Chromecast variation is the 3rd gen or Ultra.

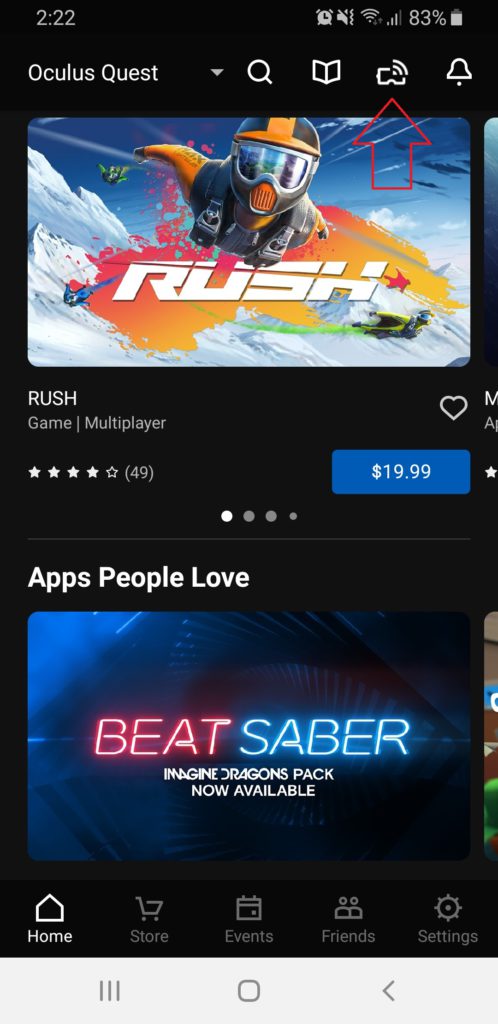
  • Open the Oculus mobile app
  • Tap the cast icon on the top
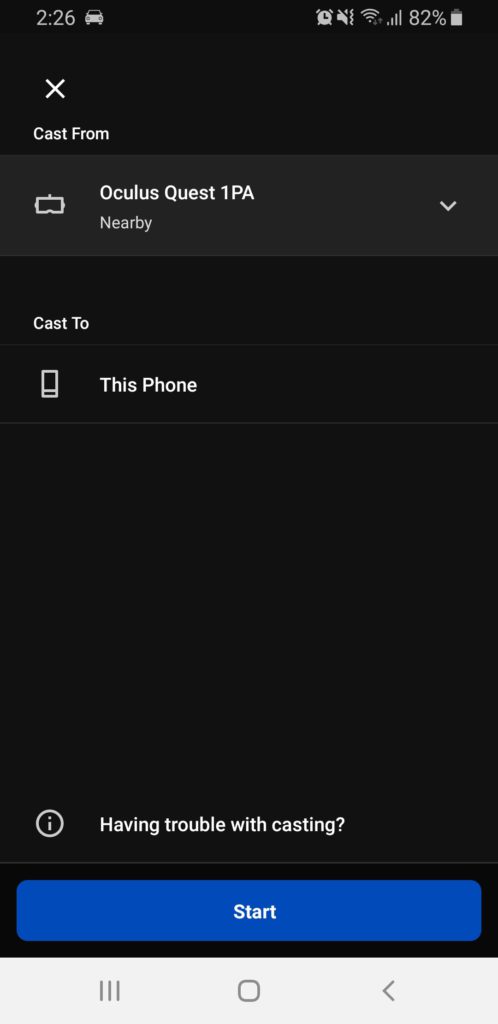
  • Select your Oculus Quest in the “Cast From” section
  • Select your Chromecast device in the “Cast To” section
  • Select “Video Quality” either “Standard” or “Low”
  • Tap “Start” on the bottom

How to cast to your phone

  • Open the Oculus mobile app
  • Tap the cast icon on the top
  • Select you Oculus Quest in the “Cast From” section
  • Select “This Phone” in “Cast To” section
  • Tap “Start” on the button

How to stop casting

  • Tap the screen on the phone, and the “Stop” button will appear on the bottom
  • Tap “Stop” to stop casting

or

  • Through the headset, open the menu bar by pressing the Oculus button (the flat button on the right controller)
  • Click “Sharing”
  • Click “Cast”, and select “Stop Casting” in the popup window

How to cast to a TV without Chromecast

For those who don’t have Chromecast, there is a workaround to cast to your TV without it. If you have a Samsung Galaxy smartphone, you can mirror the display with using Samsung Dex. First, you normally cast to your phone and connect the Dex device or cable to your TV. Similarly, iPhones can be connected to a TV with the Apple Lightning Digital AV adapter. If you have Apple TV, you can use the AirPlay feature to mirror the display wirelessly.

Please note that when you cast to your phone, the display’s quality is bad. It may be OK when you see a small screen of a smartphone. But when you mirror to your TV, you may not tolerate the quality. So, If you really want to see it on a big screen TV, I suggest buying Chromecast. Oculus Quest doesn’t support 4K. So, the display will be the same quality by using either the 3rd gen or Ultra. To choose one between the 3rd gen and Ultra, consider other factors, such as the resolution of your TV, other apps you use, and so on.

Related Posts

Which Oculus Quest should you buy, 64GB or 128GB?

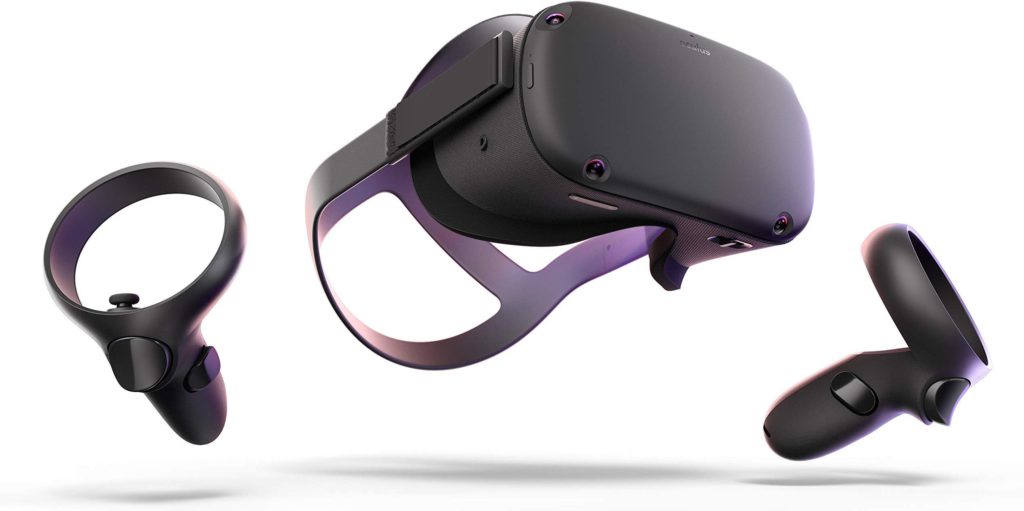
Oculus Quest is the first all-in-one VR headset with six-degree of freedom. Right out of the box, with a WiFi connection, you can start downloading games and enjoying them in no time. Oculus Quest has two versions: 64GB for $399 and 128GB for $499. Let’s compare these two headsets and find out which you should buy, 64GB or 128GB.

image of oculus quest

What is the difference?

64GB and 128GB are the sizes of storage on the headset. That’s the only difference between them. Both use the same processor, display, sound system, etc. In other words, double-sized storage costs $100. Is the extra storage of 64GB worth $100? Let’s see how much storage you may require for VR gaming.

How much storage do VR games require?

Surprisingly, many games don’t even require 1GB. And, a game requiring large storage is at most 3GB. So, you can store dozens of games at a time in a 64GB version of Oculus Quest. If the storage gets full, you can uninstall old games and install new ones. There haven’t been many titles in the Oculus Store yet in the first place. According to uploadvr.com, the entire library at the launch of Oculus Quest can be stored in a 64GB version. So for now, although it’s better to have a 128GB version, a 64GB version won’t have a problem.

List of the requiring storage sizes of some games

  • Beat Saber – 287MB
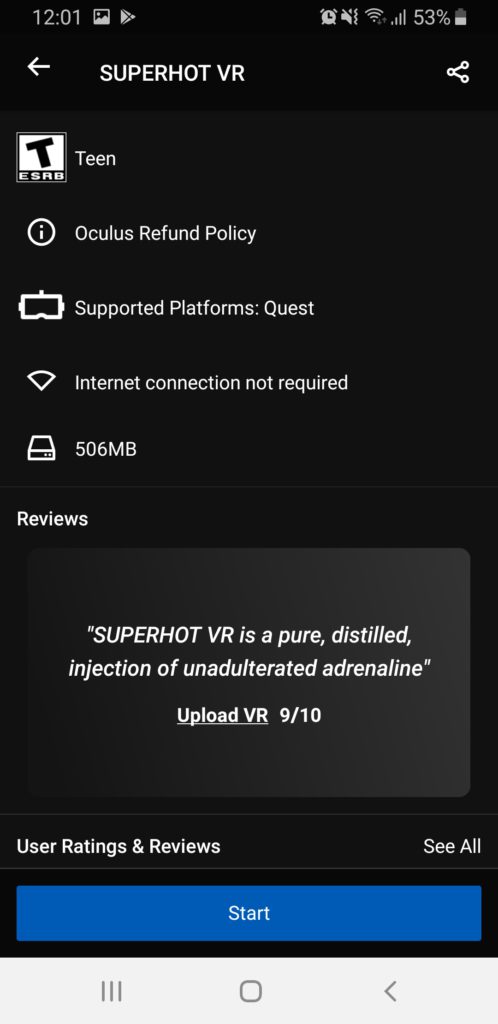
  • Superhot VR – 506MB
  • Racket: Nx – 229MB
  • Drop Dead: Dual Strike Edition – 736MB
  • Gun VR – 871MB
  • Job Simulator – 913MB
  • Dance Central – 2.6GB
  • Vader Immortal: Episode I – 2.6GB
  • Moss – 2.6GB
  • Robo Recall: Unplugged – 2.9GB

If you have many media files…

If you want to put a lot of media files, a 128GB is better because the size of media files can be large. 360-degree video files are gigantic, and even regular video files of 2-hour movies are large, too.

I have a 32GB Oculus Go and enjoy watching 3D movies with it. I download movies from the internet, and it filled up the storage of Oculus Go quickly. I believe even 64GB or even 128GB can get filled soon IF you store ALL video files. But you don’t have to do that.

You can use your computer or external hard drive to keep your entire library of video files. When you want to watch, transfer them. Unlike apps and games, transferring media files doesn’t require the installation process. So, it doesn’t take much time. It is also much faster than downloading something from the internet.

Who should buy a 64GB Oculus Quest?

I use my Oculus Quest for games only. And, I have Oculus Go and use it for watching videos. For those who use Oculus Quest only for games, The storage of 64GB is sufficient. As I mentioned above, it can store dozens of games at a time. When you get a new one, just uninstall the old one. Besides, the Oculus store doesn’t have many titles yet in the first place.

Who should buy a 128GB Oculus Quest?

If you use Oculus Quest for gaming and also watching videos, you may want to get a 128GB version. 360-degree and movies files are huge. My 32GB Oculus Go can get filled quickly. Smaller storage of Oculus Quest is double, 64GB, however, say you have VR apps and games filled half of the storage and the other half is for media files. You may get frustrated with organizing the storage space frequently.

Conclusion

If you don’t care about the price, just get a 128GB of Oculus Quest. If you use the headset for not only games but also watching videos, get 128GB because media files are huge. If you use it as a dedicated VR gaming device, a 64GB would be enough for now. It’s been a few months since the launch of Oculus Quest. New titles are coming up. But there is no game requiring a large storage space, and there aren’t many titles in the Oculus Store in the first place.

Related Posts

How to improve the battery life of Oculus Quest

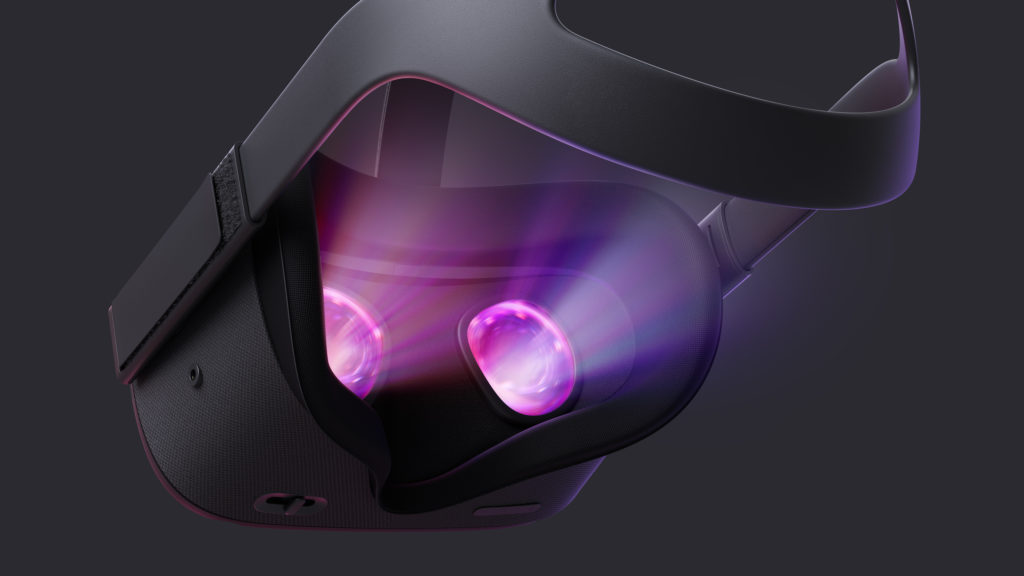
A fully charged internal battery of Oculus Quest lasts for around 2 to 3 hours. Aside from using an external battery pack, you can still do some things to improve the battery life of Oculus Quest.

image of Oculus_Quest_Back

Turn off when it’s not in use

Simply, turn off the headset when it’s not in use. Don’t confuse “turning off” and “sleep mode” or “standby mode.” The processor in Oculus Quest is the same as one used in various recent Android smartphones. So, there are many similarities between Oculus Quest and Android devices. However, unlike smartphones, a VR headset doesn’t have to be in standby mode while it’s not in use. Just turn it off, and it will save the power of batter. There are two methods.

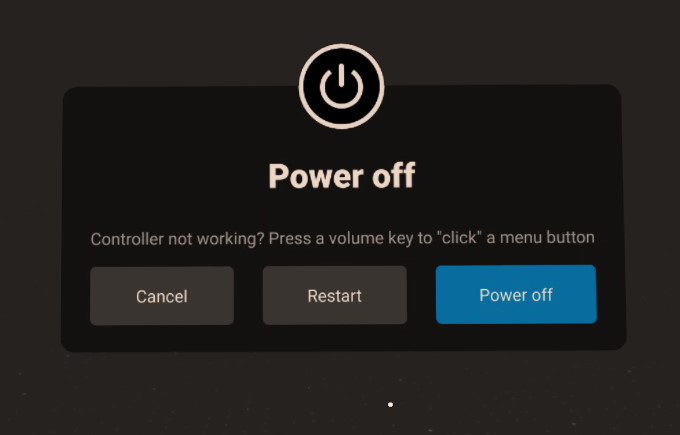
Method#1: Keep wearing the headset and hold down the power button for 3 seconds. You will see a popup window that prompts you to select either “Cancel”, “Restart”, or “Power off”. Click “Power off” to turn it off.

image of restart turn off oculus quest

Method#2 Hold down the power button for around 5 seconds, and it forces to shut down the headset. It’s convenient in a situation like that you already taken off the headset, packed up the controllers, etc. However, it’s important to make sure the headset turned off. Next, it shows how to check if it’s off.

How to check if the headset turned off

To check the headset is off by pressing the power button. When the headset is turned off, just pressing the power button doesn’t do anything. (Holding down the power button turns it on.) If it’s not turned off but in a sleep mode, pressing the power button will turn on the display.

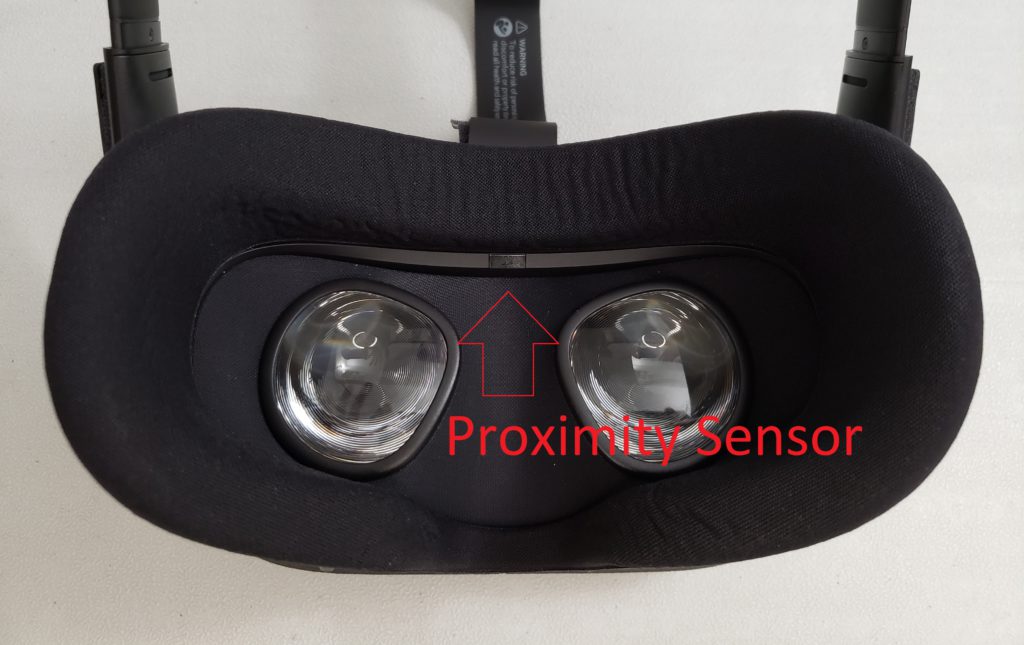
You may also touch the proximity sensor to see if it’s off. The proximity sensor is between the lenses. It detects the presence of nearby objects. When you wear the headset, the sensor detects your face and knows that you’re wearing the headset. When the headset is turned off, the proximity sensor is turned off as well. There is no response whatsoever. However, when it’s in sleep mode, it turns on the display when you touch the sensor. You don’t have to put on the headset. Just touching by a finger will do. If the settings of Auto Wake-Up (see next) is disabled, it doesn’t respond whether the headset is on or off.

image of oculus quest proximity sensor

Disable Auto Wake-Up to avoid an accidental wakeup

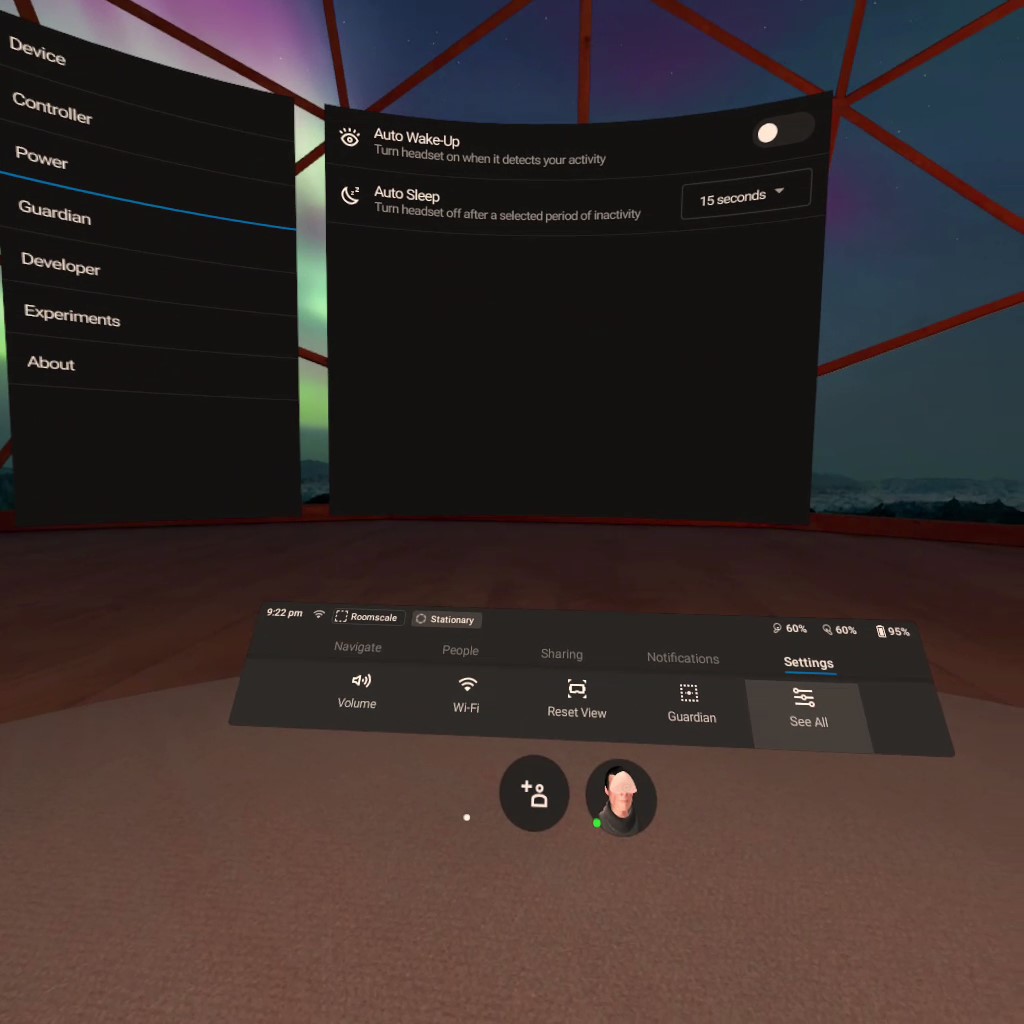
“Auto Wake-up” is the settings for automatically waking up the headset from sleep mode when you wear the headset. By this settings is off, you can avoid an accidental wakeup. So it could save some battery. You can wake up the headset from sleep mode by pressing the power button, and it’s the only way to wake up with Auto Wake-Up disabled.

image of auto sleep auto wake up oculus quest settings

Set Auto Sleep in 15 seconds

“Auto Sleep” is the settings for automatically going to sleep mode when there is no activity for a certain period of time. By default, it’s set in 15 seconds. You can choose among 15s, 1m, 3m, 5m, and 15m. Let’s leave it the default setting of 15 seconds. I don’t think there is a need for leaving the display on for a long time when you are not wearing the headset. And, keep in mind that pressing the power button briefly makes the headset go into sleep mode immediately.

As I mentioned earlier, don’t confuse “turning off” and “sleep mode” or “standby mode.” Auto Sleep makes the headset go into sleep mode, never turning off. Unless you take a short rest during gameplay, you should turn off the headset.

Turn off WiFi

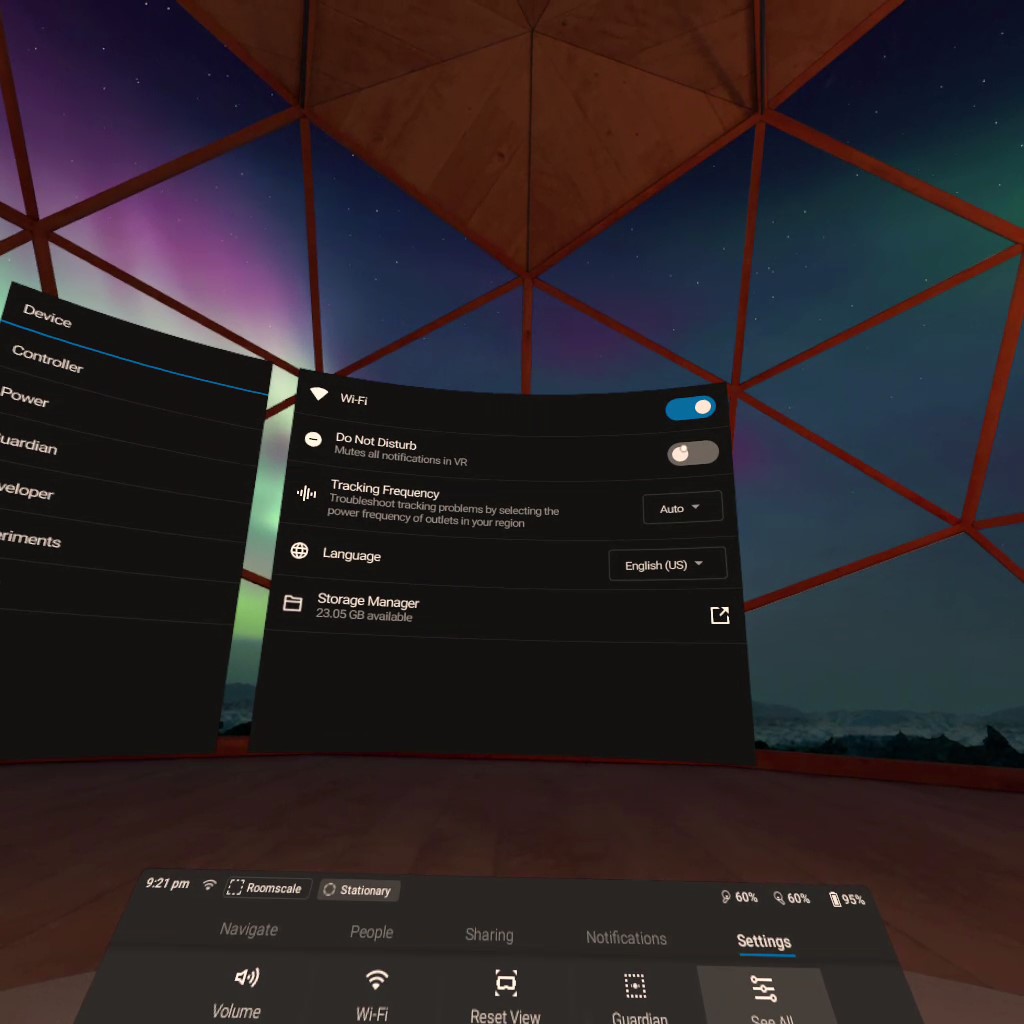
Some apps and games don’t require an internet connection to play after they are downloaded and installed on the headset. Turning off WiFi saves the battery.

image of wifi do not disturb oculus quest settings

Do Not Disturb to mute all notifications

Constantly receiving notifications will drain the battery. Enable “Do Not Disturb” to mute the notifications. If you play an app or game that doesn’t require an internet connection, just turn off WiFi, and you won’t receive notifications regardless of the setting of Do Not Disturb.

Lower the volume

Although the speakers consumed much less power of battery than the display, lowering the volume can save some battery, too.

Conclusion

The most important thing to improve the battery life of Oculus Quest is to know how to use the power button properly and the meanings of all settings. Holding down the power button turns the headset on or off. Pressing the power button makes the headset sleep or wakes it up. Unless you are taking a short rest during gameplay, you should turn off the headset. And several settings helps to improve the battery life of Oculus Quest, too.

Related Posts

Oculus Quest Tips and Tricks

It’s been a few months since the Oculus Quest’s release. A truly all-in-one VR headset offers an untethered complete freedom experience as promised. There are some things that you can enjoy more and make the most use of a standalone VR headset. Here are some Oculus Quest tips and tricks.


AmazonBasics PSVR travel case fits Oculus Quest with a small modification

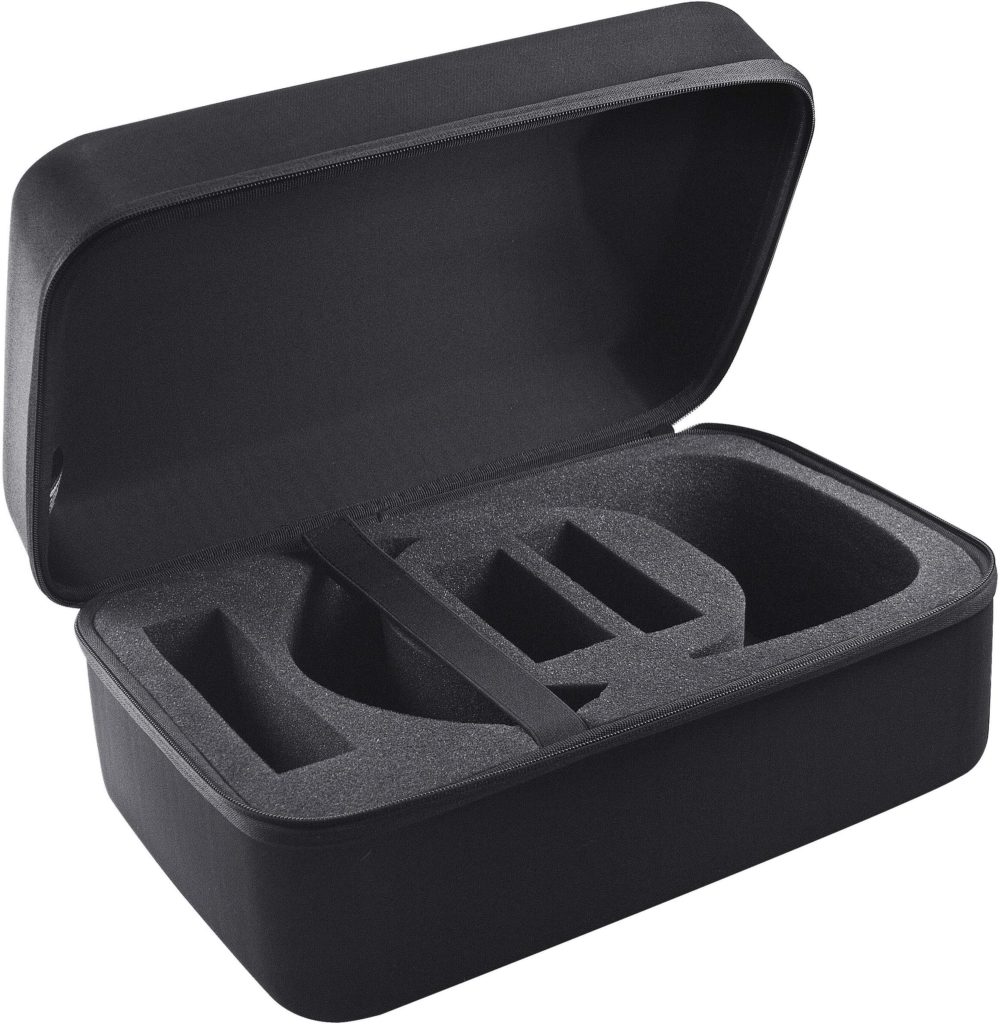
Oculus released the original travel case along with the headset. But this travel case has been sold out quickly, and as long as I know, at the time of writing it has never been restocked. Amazon has an original travel case for a PSVR headset. With a little modification, Oculus Quest fits perfectly in this travel case. What you need to do is to make cuts on each side where the head straps sit. Just cut deep enough to make the head straps slide into them.

image of amazonbasics carrying case for psvr

There are compartments for the controllers, USB cable, wall adapter, and some small additional accessories. It’s less expensive than the Oculus official travel case. The drawback, however, is that the case is unnecessarily thick because it’s made for a PSVR headset, which has a bulky headband. If you prefer a flat one, take a look at these cases.

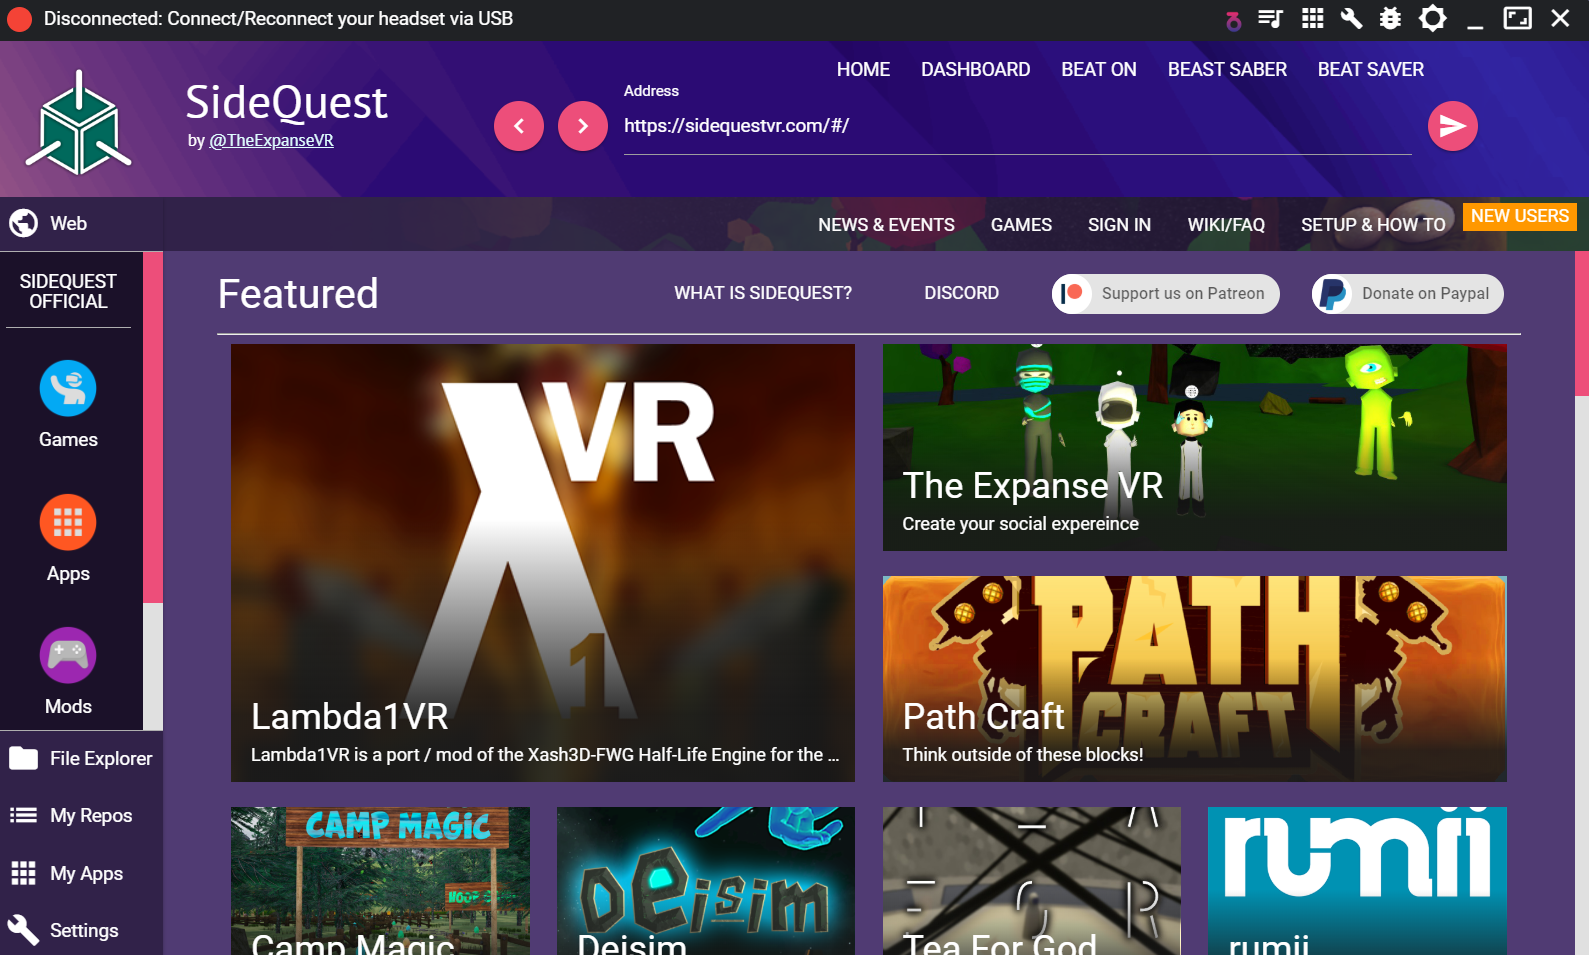
Install SideQuest for more apps and games, adding customs songs to Beat Saber

image of sidequest sideloading app for oculus quest

SideQuest is the platform of community that third-party developers can share and test apps and games they create. You can download and install apps and games that are not available in the Oculus Store. You can also add customs songs to Beat Saber with SideQuest. This post tells you how to install SideQuest and how to add custom songs to Beat Saber.

Disable Guardian if you have an open space

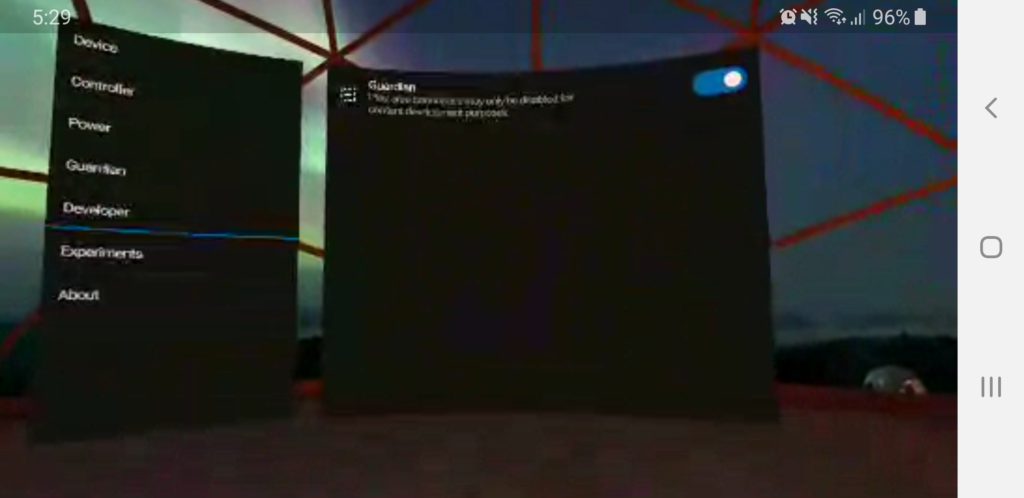
If you have an open space that doesn’t have any obstacles like walls, furniture, or anything, you can completely disable the Guardian. To do so, you need to enable Developer mode. If you install SideQuest, this procedure must be familiar to you. But for those who have never done before, here is the procedure.

image of enable disable guardian
  • Open “Settings” of the Oculus mobile app
  • Tap “Oculus Quest xxx(serial number)xxx”
  • Tap “More Settings” and “Developer Mode”
  • Tap the slider to enable “Developer Mode”
  • Next, put on the headset, open “Settings” and click “See all”
  • Click “Developer”
  • Click the toggle switch to disable Guardian.

Use PopSockets and Mount to attach an external battery on the back of the head strap

Oculus Quest battery lasts between 2 to 3 hours. If you want to play continuously more than that, you can buy and connect an external battery pack. Instead of using a USB cable and wall adapter which is included as accessories in the box, using an external battery allows you to move freely and don’t ruin the Oculus Quest’s main feature of complete wireless.

image of popsockets mount

If you put it in your back pocket, you need a relatively long USB cable. Some people use PopSocket and Mount. They are mostly used for mounting a smartphone on the dashboard of the car, but they suit nicely as if they were made for this purpose as well. If you use PopSocket and Mount, 1-foot cable would be long enough.

Use rechargeable batteries for Touch Controllers

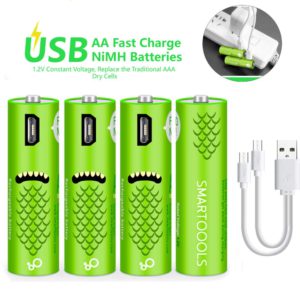
The Touch Controller is powered by an AA battery. Since I bought the Oculus Quest a few months ago, I have changed batteries so many times that I can’t remember. Instead of using disposable batteries, it’s convenient and eco-friendly to use rechargeable batteries. Just get 4-pack of rechargeable batteries and charger. Most chargers can charge 2 or 4 batteries at the same time. So, while 2 are using, other 2 can get charged. Thus, you always have a couple of spare batteries.

image of usb rechargeable aa batteries

If you use the headset somewhere away from home and there is no electric outlet, you may consider these type of rechargeable batteries. Each battery has a Micro USB port to charge directly from a USB cable. You can charge them from an external battery pack. And there is no charger to carry around. All it needs is a USB cable. The drawback of these batteries is that they have less capacity than conventional rechargeable batteries.

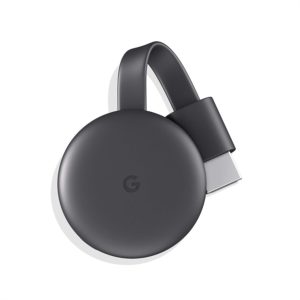
Using Google Chromecast to share VR experiences with your friends and family

image of the 3rd generation of chromecast

Virtual reality tends to be isolated from the real world. When you are with your friends or family, you may want to share the experiences by casting to your TV. You need the 3rd generation or Ultra to cast Oculus Quest to your TV. (Updated 10/18/2019, you can cast to all generations of Chomecast. Click here to see the details.) After setting up Chromecast with Google Home mobile app, tap the cast icon on the top of the Oculus mobile app. And select your Oculus Quest as a “Cast From” and your Chromecast as a “Cast To” device. Please note that 1st and 2nd generation of Chromecast don’t work for casting Oculus Quest. The 3rd gen or Ultra is compatible with this feature.

Related Posts