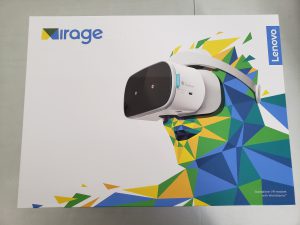
 Virtual Reality headsets have been around for years. And they were divided into two major types. Tethered or not tethered. Both types have pros and cons. Tethered VR allows you to move inside VR world, but it needs to be wired all the time. Non-tethered VR has no wires, but you can’t walk in VR. One is free from wires, but no movement in VR. And the other is wired but capable of moving in VR. It’s contradicting.
Lenovo and Google worked together and created a headset with a new technology that filled the gap between those two types of the headset to some extent. Lenovo Mirage Solo doesn’t require cords and wires attached to a computer or mount a smartphone on the front of the headset. A display, sensors, and processors are all built into the headset. And integrated cameras and proprietary technology allow you to make a limited movement in VR.
What’s in Box?
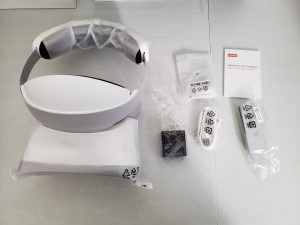 Mirage Solo VR headset
- Daydream controller
- USB to USB-C cable
- Wall adapter
- Earbuds
- Instruction Manual
Specs
- Dimension: 10.6″ x 8″ x 7.1″
- Weight: 22.7 oz
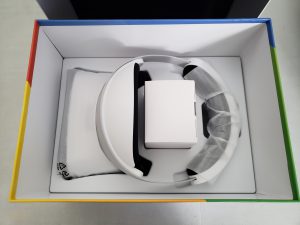 The Mirage Solo is currently the heaviest VR headset on the market. The second heaviest one is PlayStation VR. Both headsets have the same type of headband which is responsible for extra weight. It’s even heavier than PC-tethered bulky headsets such as Oculus Rift and HTC Vive. Compared with mobile VR headsets like Samsung Gear VR or Google Daydream View, it’s much heavier. Even when a smartphone mounts on these headsets, the Mirage Solo is still heavier. And Oculus Go, which is another standalone VR headset with 3DoF, and it weighs 16.5 oz.
Design
The Mirage Solo has a very similar design to PlayStation VR headset. You wear the headband like a crown. There is an adjustment knob on the back to make a secure fit. A center part of HMD is attached to the front of the headband. You can adjust the distance between them. No matter how much you tighten the headband, you can relieve the pressure on your face separately.
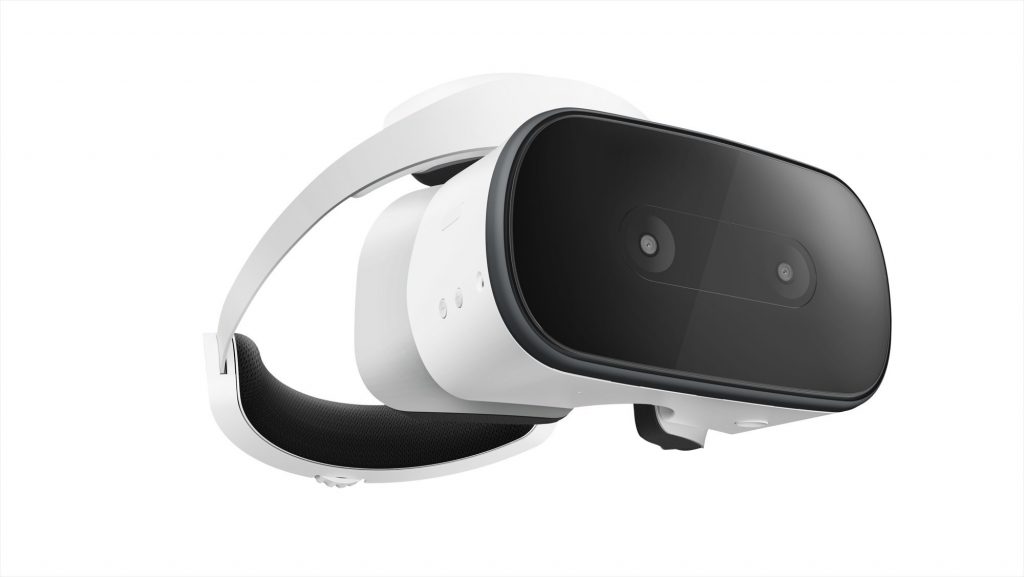
The most of outer body is made from matte plastic in white and grey. The front of the HMD is an exception. It’s made of glossy black plastic with integrated WorldSense tracking sensors, which makes it possible to move inside VR.
On its side, there is a USB-C charging port and a Micro SD slot (expandable up to 256GB) with a little cover. On the other side, there are volume buttons and power/sleep button, and headphone jack. On the bottom, there is a mechanical button to adjust the distance between the HMD and the headband.
Comfort
To be honest, it’s not that comfortable for me. It’s challenging to find the perfect fit. That’s because it lacks adjustments. The adjustments it has are the knob on the back of headband and the button on the bottom of the HMD. Neither of them can set the vertical position of HMD after you wear the headband. So, first, you have to put the HMD against your face, find the best position and hold it there. Then, tighten the knob of the headband. The headband is fitted partially on the upper part of the forehead, but mostly on the head. You have to tighten the headband relatively hard in this position. If it’s loose, the HMD is likely to go down itself and get out of focus. Despite its large construction, I don’t feel much weight of the headset. But I always feel a pressure on the head, instead.
Setup
Unlike Oculus Go, the Mirage Solo doesn’t require a smartphone for initial assistance from a mobile app. It requires the headset, controller, WiFi network, and nothing else. After setup, it takes you to the Welcome app to teach how to use the controller and navigate. In this app, you can immediately start experiencing WorldSense technology. Try taking a step or two, leaning, and ducking, and you will see the display move correspondingly
Controller
The Mirage Solo comes with the controller. It’s entirely the same as one come with Daydream View. A touchpad is on the top. The Back and Home button below the touchpad. And volume button is on the side. It packs a rechargeable battery. You can charge the battery with a USB cable through a USB-C port located on the bottom.
Audio
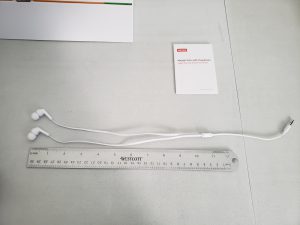 The Mirage Solo doesn’t have integrated speakers. You have to use a pair of headphones connecting the audio jack on the side of the headset. The Oculus Go’s integrated speakers are fantastic. Its spatial audio provides dramatic and immersive 3D sound. For that reason, the Mirage Solo’s audio system is disappointing. Included earbuds offer decent sound, but they can’t compete with Oculus Go’s integrated speakers at all.
VR Experience
Although the Mirage Solo has higher resolution lenses, it won’t surpass the Oculus Rift or HTC Vive due to lower refresh rate. But it offers much better quality than Gear VR or Daydream View. There is no overheating messages or screen-door effect.
What’s new among all VR headsets is Lenovo’s WorldSense Motion Tracking technology. The technology allows you to move in VR world without external tracking devices. It’s also called six degree-of-freedom or room-scale. However, the area you can walk around is very limited. When you get out of the area, the display will be blank with a warning message. It’s ironic that the non-tethered Mirage Solo offers 6DoF in narrower space than PC-tethered headsets like Rift or Vive.
Apps and Games
You can download and install apps and games from Daydream library. At the time of writing, there are over 350 titles including over 70 titles optimized for WorldSense.
Battery Life
The Mirage Solo has a 4000 mAh rechargeable battery. According to the manufacturer, its battery life is 2.5 hours for general use. Thanks to a proximity sensor, the headset automatically goes into sleep mode when you take it off to save the battery. But remember it doesn’t power it off. When you take a rest for a while, it’s better to power off and connect the charging cable. Unless you play VR for many hours continuously, the battery life of Mirage Solo is sufficient.
Storage
The Mirage Solo has 64GB of onboard storage, which is expandable with Micro SD card up to 256GB, sold separately)
Mirage Solo Camera
The Mirage Solo Camera will be released weeks after the Mirage Solo headset. The camera allows you to create 3D images or videos on your own. Then, you can watch on the headset. A regular price is $299.99.
Conclusion
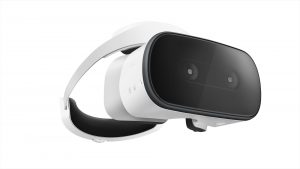 The Mirage Solo’s 6DoF without external tracking devices is huge progress in VR technology. A solid headband is uncomfortable for watching a movie while lying on a bed. Thus, it’s not for casual user but gamer. Keep in mind that your movement in VR is very limited. You can’t expect the same kind of experience HTC Vive or Oculus Rift offers. The controller is the same as Daydream View. It’s useful for selecting and clicking apps, but it’s not optimized for games. Besides, the controller is still 3DoF. What’s more, apps and games in Daydream platform are far less than ones in Oculus platform.
The retail price $399.99 is a little pricey for the headset that provides limited 6DoF in limited apps and games. However, you can feel a lot of potential from the headset. Despite drawbacks, the Mirage Solo’s WolrdSense technology is a big step forward for the future of VR. Click here to see the latest price.
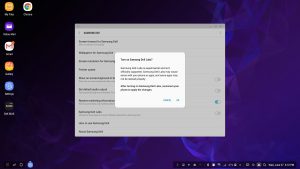 However, there is a setting to make non-DeX apps resizeable or expandable. Open Settings > Samsung DeX > Find “Samsung Dex Labs” and turn on. After that, some non-DeX apps can be both resized and maximize the window, and some of them can be resized only. Keep in mind that it won’t keep the original ratio of the window when you resize on these apps. For example, Kodi can resize after turning on Samsung DeX Labs, but it’s difficult to keep the right ratio of the window. For these apps, I recommend to use screen mirroring or using DeX Max app described below.
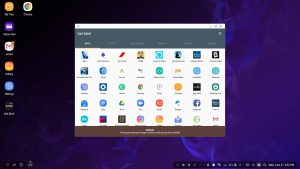 DeX MAX app is a third party app. With this app, you can resize or maximize the window of many third-party apps. All you have to do is download the app from Google play store. Then, open the app, and you will see all your apps inside the window of DeX MAX. Most apps you open from here will have the icon to expand on the top right-hand corner of the window. However, there are some exceptions. For example, Kodi won’t go to the full screen, and it will need the extra setting on DeX MAX app.
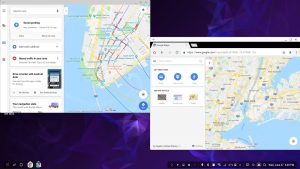 If you use the display of Samsung Galaxy smartphone as a touchpad, there is no problem when using Google Maps app. A Pinch-to-Zoom feature works in the same way as you use the mobile app on a smartphone. However, if you use a mouse wheel or aftermarket touchpad with Samsung DeX, you probably have difficulty using Google Map app. You can zoom in by double-clicking (or tapping), but there is no way to zoom out. To get around this problem, you can open a map in Chrome browser. A mouse wheel works perfectly, as well as a Pinch-to-Zoom on an aftermarket touchpad
 If Chrome browser keeps showing the mobile version of the website, you can switch to desktop version so you can see the web pages better. Click three dot on the top right-hand corner of the window, and then, find “Desktop site” and check the box. After that, any websites you visit will be desktop version. However, when you open a new tab or window, it doesn’t keep this setting. You should check the box of “Desktop site” again.
 You can’t zoom in or out some websites by default. But, after you check the box of “Desktop site,” you can zoom in and out by Pinch-to-Zoom, mouse wheel or Ctrl+”+” and Ctrl+”- “on the keyboard.
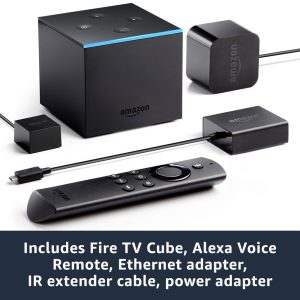
 TV, sound bar, cable box, A/V receiver and more.
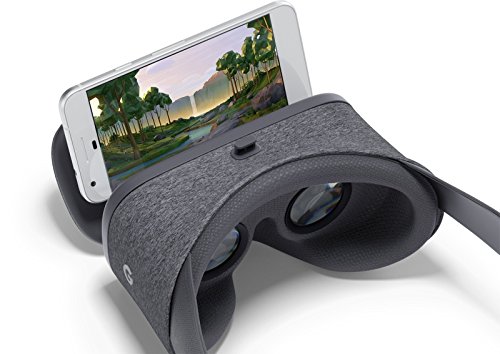
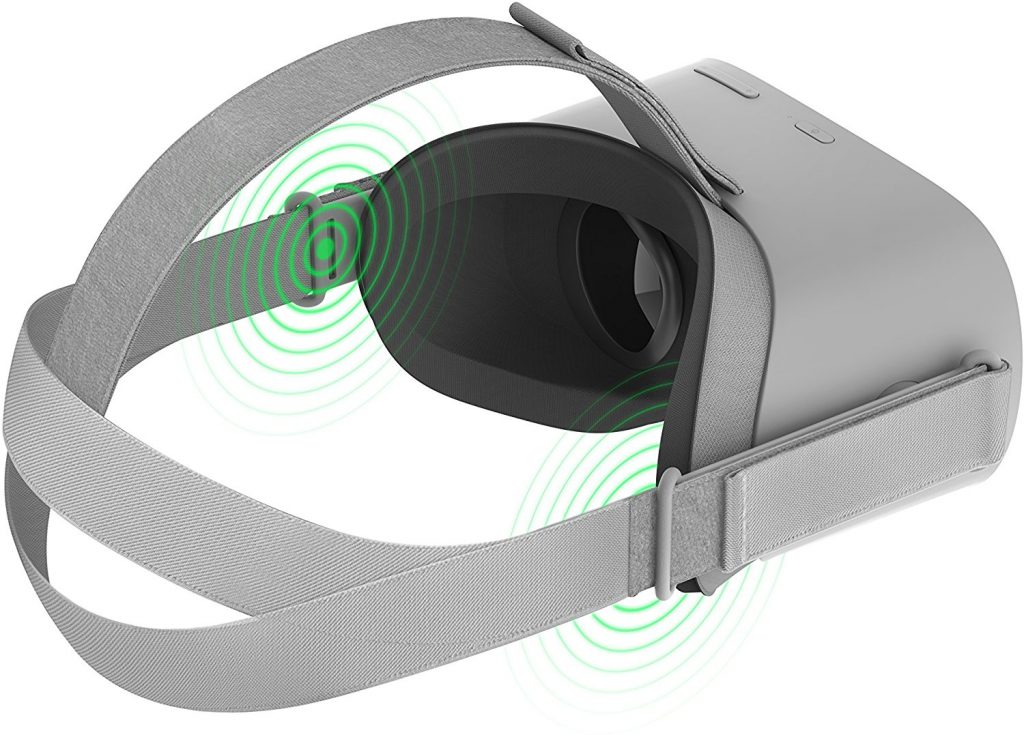

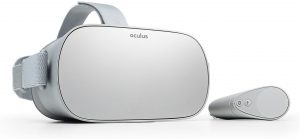 Oculus Go is the most affordable and portable VR headsets on the market. Its standalone processor and display eliminate the need of placing a smartphone in front of headset or connecting wires to a gaming computer. And built-in speakers provide quality spacial audio. With all these features packed, Oculus Go is a truly standalone VR headset and a lot easier for you to start experiencing a virtual reality than any other VR headsets.
 Oculus Go isn’t the only standalone VR headset. Lenovo Mirage Solo was released in early 2018, which was almost the same time as the release of Oculus Go. Mirage Solo costs nearly twice as much as Oculus Go. That’s because it has a brand new technology of position tracking. Oculus Go doesn’t have this feature.
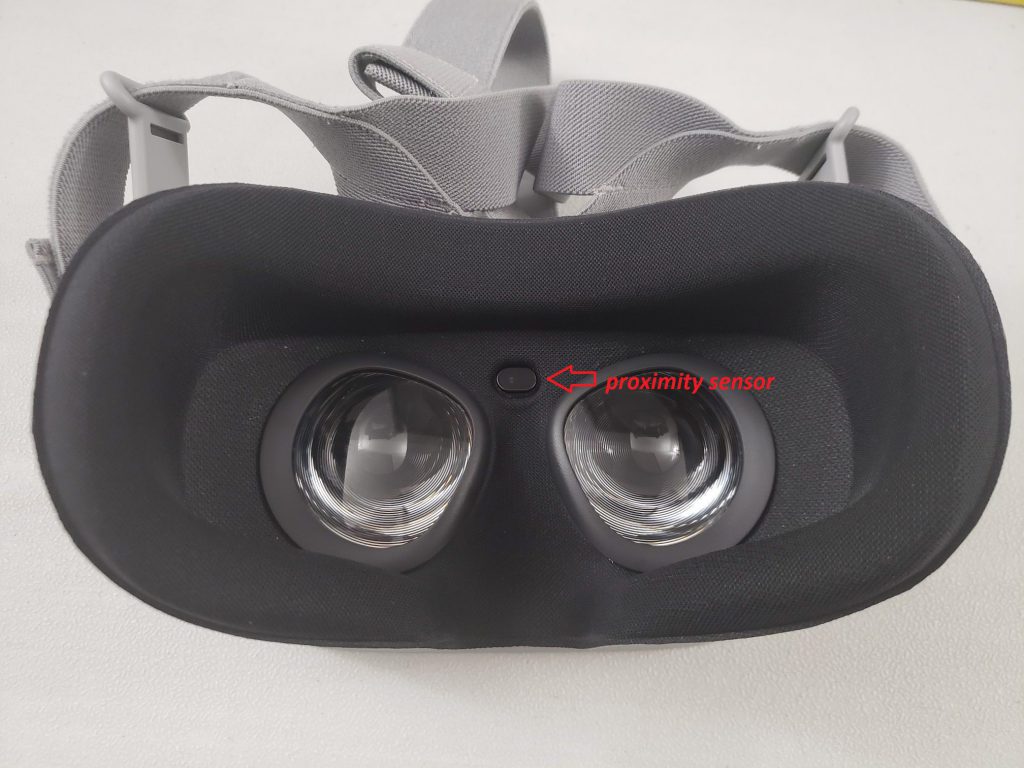
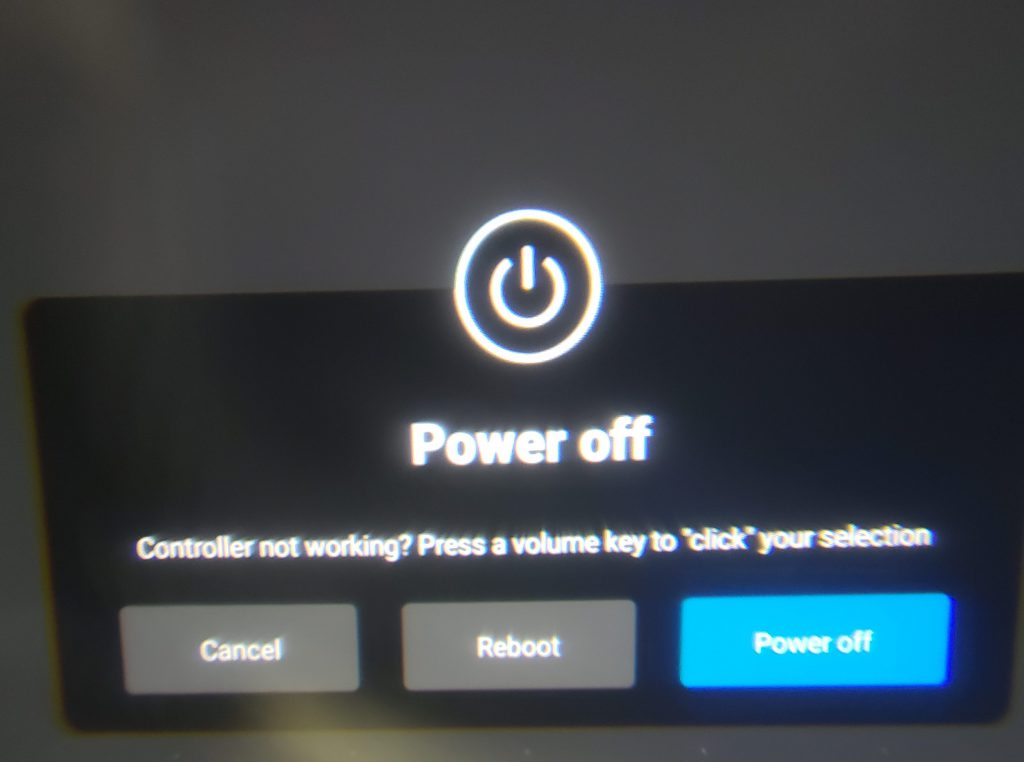
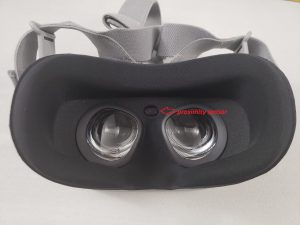 Oculus Go is an Android-based device. And it’s similar to smartphones regarding power on/off behavior. Pressing the power button of Oculus Go doesn’t power off the device but go into sleep mode. You have to hold down the power button and confirm through the headset to power off. From sleep mode, you can wake up the headset by pressing the power button or just putting the headset on your face. A proximity sensor detects your face and wakes up the device automatically for you. However, the sensor can be triggered by anything. If you put your finger close to the sensor, it will wake up. If the head strap hangs down on it, it will also wake up. So, when you carry the headset, you should power it off.
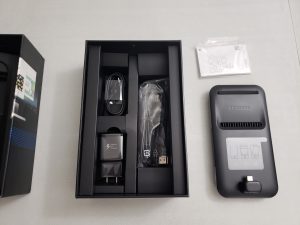 Samsung DeX Pad
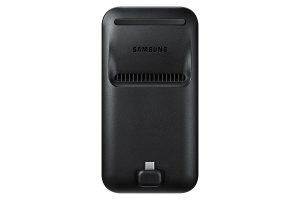
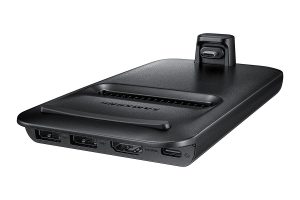 There is a vent for a built-in cooling fan in the middle. And There is a rubber for cushion and grip embedded on the opposite end to the connector. The rubber is slightly raised on the surface of DeX Pad. It makes a slight clearance between a smartphone and DeX Pad and gives a maximum cooling performance. There is another vent around the bottom edge on the back. And rubber pieces are embedded at each corner for grip.
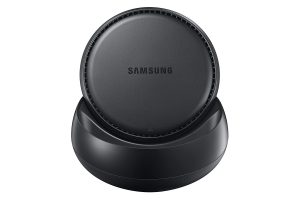 During use, a smartphone lies flat with its screen facing up. You can use the screen as a touchpad.
 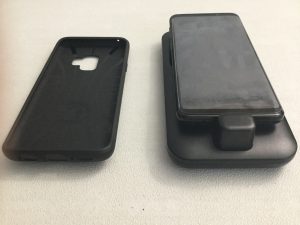 If it doesn’t start DeX automatically, something is not connected correctly. Many users experience that their phone cases aren’t compatible with DeX Pad. The cases have a cover on the bottom frame won’t work with DeX Pad because the case blocks the connector to engage all the way inside the USB-C port of smartphone. So, you have to take off the case and connect to DeX. If you have a case with a large cutout around the bottom such as
 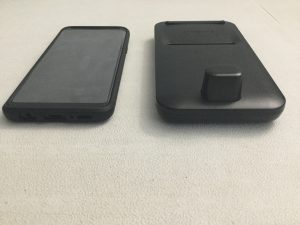 As mentioned above, many phone cases are not compatible with DeX Pad. The problem is straightforward. The connector can’t engage all the way inside of USB-C port when the smartphone is covered with the case. And, this problem has been existing since the previous model, DeX Station. Solution to this problem could have been straightforward, too. Samsung had to make the connector more pointy or include extension adapter. Samsung seems that they don’t care as long as their official case fits DeX.
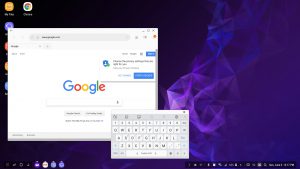 A keyboard, on the other hand, is disappointing. Samsung boastingly advertises that your smartphone on DeX Pad turns into a touchpad. However, they don’t mention much about a keyboard. Until I got and tried DeX Pad, I thought a virtual keyboard would show up on the screen of a smartphone. But actually, a virtual keyboard shows up on the monitor only. You have to move the cursor and tap each letter with a touchpad. It may be OK for web browsing, but it’s way too challenging for writing documents. I need to carry an external keyboard with DeX Pad.
 Mirage Solo VR headset
 The Mirage Solo is currently the heaviest VR headset on the market. The second heaviest one is PlayStation VR. Both headsets have the same type of headband which is responsible for extra weight. It’s even heavier than PC-tethered bulky headsets such as Oculus Rift and HTC Vive. Compared with mobile VR headsets like
  The Mirage Solo doesn’t have integrated speakers. You have to use a pair of headphones connecting the audio jack on the side of the headset. The Oculus Go’s integrated speakers are fantastic. Its spatial audio provides dramatic and immersive 3D sound. For that reason, the Mirage Solo’s audio system is disappointing. Included earbuds offer decent sound, but they can’t compete with Oculus Go’s integrated speakers at all.
 The Mirage Solo’s 6DoF without external tracking devices is huge progress in VR technology. A solid headband is uncomfortable for watching a movie while lying on a bed. Thus, it’s not for casual user but gamer. Keep in mind that your movement in VR is very limited. You can’t expect the same kind of experience HTC Vive or Oculus Rift offers. The controller is the same as Daydream View. It’s useful for selecting and clicking apps, but it’s not optimized for games. Besides, the controller is still 3DoF. What’s more, apps and games in Daydream platform are far less than ones in Oculus platform.
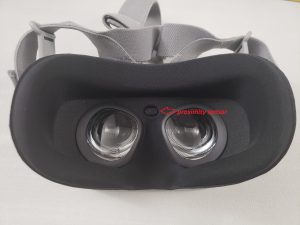

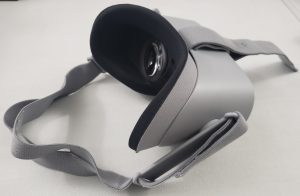 The head strap of Oculus Go is stretchy and comfortable. But do you want to ditch the head strap sometimes and hold the headset by your hands? For example, when you are reclining on a couch or lying on a bed, and watching a movie, you may want to hold the headset by your hands instead of strapping on your head. In this way, you feel less pressure on your face. The head strap is mounted on the brackets, and the brackets can turn all the way around, 360-degrees. So, you don’t have to loosen or remove the strap. All you have to do is to turn to the position until the strap doesn’t bother your face. I first turned them upward. But soon I realized that was a mistake because the brackets are actually integrated speakers. They are too far in this position. So, I turn them downward. And now, over-the-head strap blocks the way, but you can detach on the back side easily. The front goes through a loop, but the back is the only velcro. Turning around 45-degree is enough to clear around the faceplate, and the sound from the speakers is clear and loud enough for me in this position.
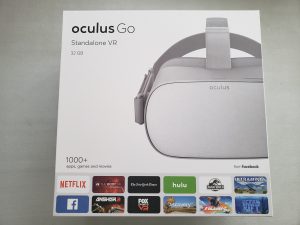 Oculus Go is finally released. It costs $199.99 for 32GB and $249.99 for 64GB. The Go is a standalone VR headset meaning that it doesn’t require a computer to hook up or mount a smartphone to use as a display and processor. Not only does the Go have essential components like LCD and processor but also speakers and microphones into the design.
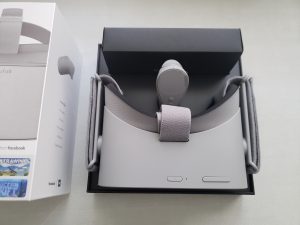 The Oculus Go is light and compact despite the fact that it has all components built-in. It’s smaller than the Gear VR (8.2″ x 4.8″ x 3.9″), but it’s not as compact as the Daydream View (6.6″ x 4.6″ x 3.9″). Speaking of the weight, the Go is heavier than the Gear VR (12.1 oz) and the Daydream View (9.2 oz), but those two headsets require to mount a smartphone in front of the device. So, overall weights are close to each other. Compared with two high-end VR headsets, HTC Vive is much heavier and bulkier, but the Go is very similar to Oculus Rift in design and specification except for the Rift’s protruding headphones and head straps.
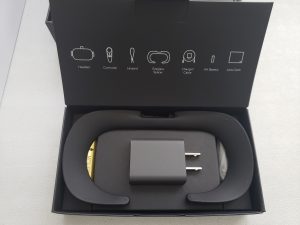 Oculus Go VR headset
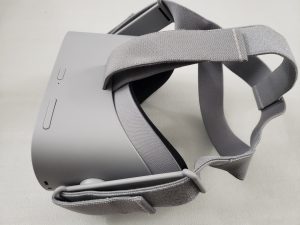 At a quick glance, the Oculus Go looks like a Google Daydream View. But, the material on the surface of the Go is made from matte slate-gray plastic while the Daydream View is covered with soft gray fabric. The overall design is similar to the Oculus Rift except for built-in speakers and head strap. On the top, there are two soft-touch buttons for power and volume. On the side, there is a headphone jack and USB micro-B port for charging. It’s kind of strange because newer electric devices tend to have USB-C ports. Even the 2nd generation of Gear VR which was released two years ago has a USB-C port. Two ports and two buttons are all you see on the headset. There is no focus wheel, a touch pad, or home and back buttons. A strap is not attached directly to the headset but to integrated speakers which can turn and change the angle. It helps you make a perfect fit without tightening the strap too much.
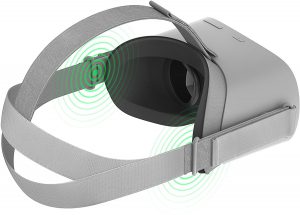 The sound quality of built-in speakers is impressive. It’s surprisingly clear. It’s also loud enough to drown out outside world without disturbing someone in a next room. The benefit of 3D spatial audio without anything covering your ears is outstanding. The quality and comfort of built-in speakers are better than any other VR headsets.